
Making my Mark
Early this year, as part of my birthday, my wife bought us both places on a course to make a Japanese maker’s mark. This got me thinking… perhaps this could be a new logo?
The seed was sown and I began thinking about how this mark could become my new logo. My now previous logo was 7 years old and whilst I like it, I wasn’t adverse to letting it go. My approach and interests have changed quite significantly since I created the old logo and this would give me an opportunity create something more relevant.
In the days leading up to the workshop I began, with the help of my wife, to sketch out ideas, trying to create a symbol that reflected and represented me and my work.
I had ruled out a Japanese symbol as it wouldn’t be relevant to the majority of my work and I didn’t want something that was overly complex or camera specific.
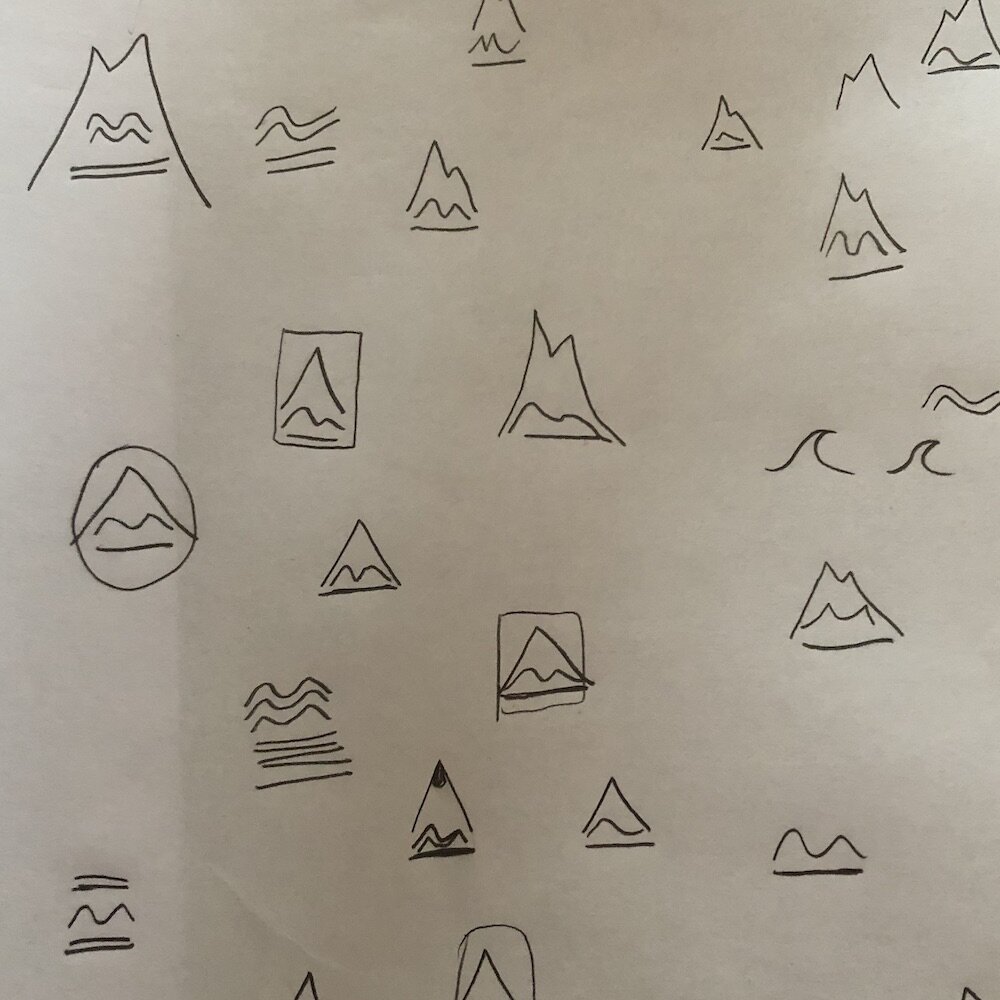
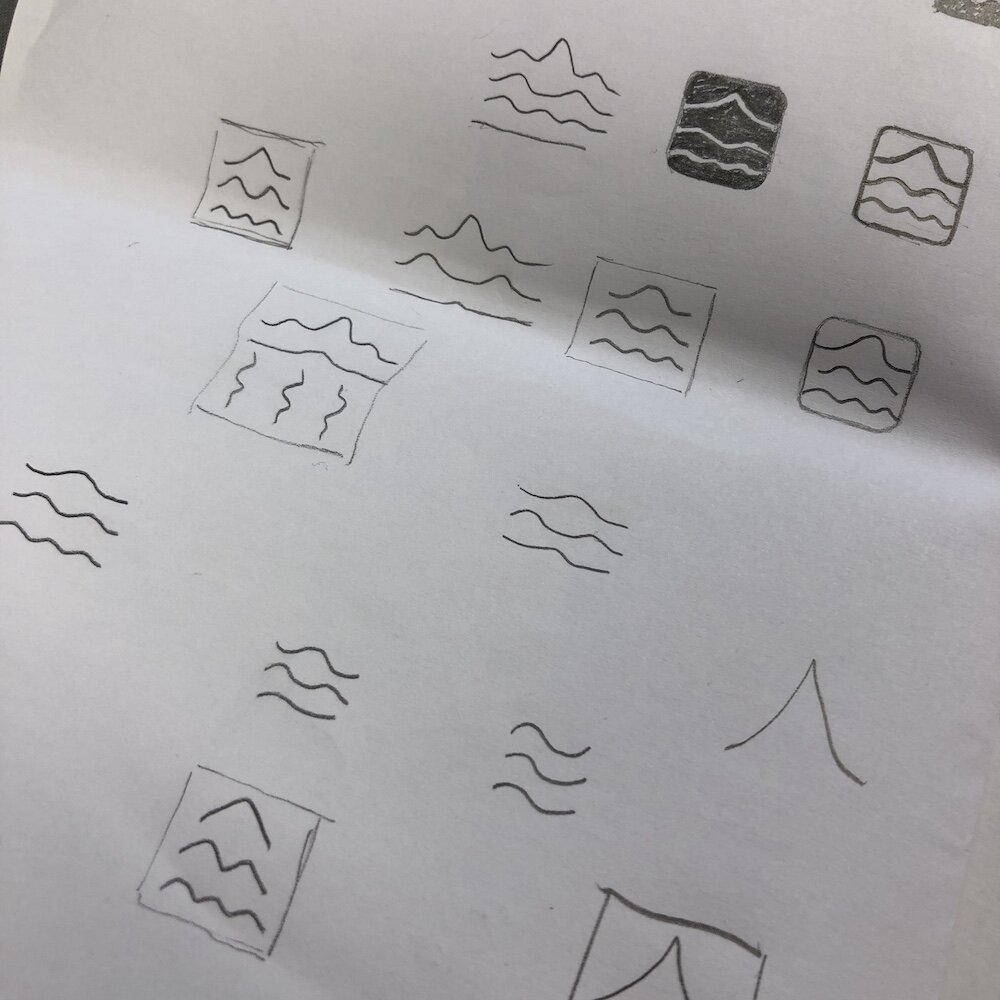
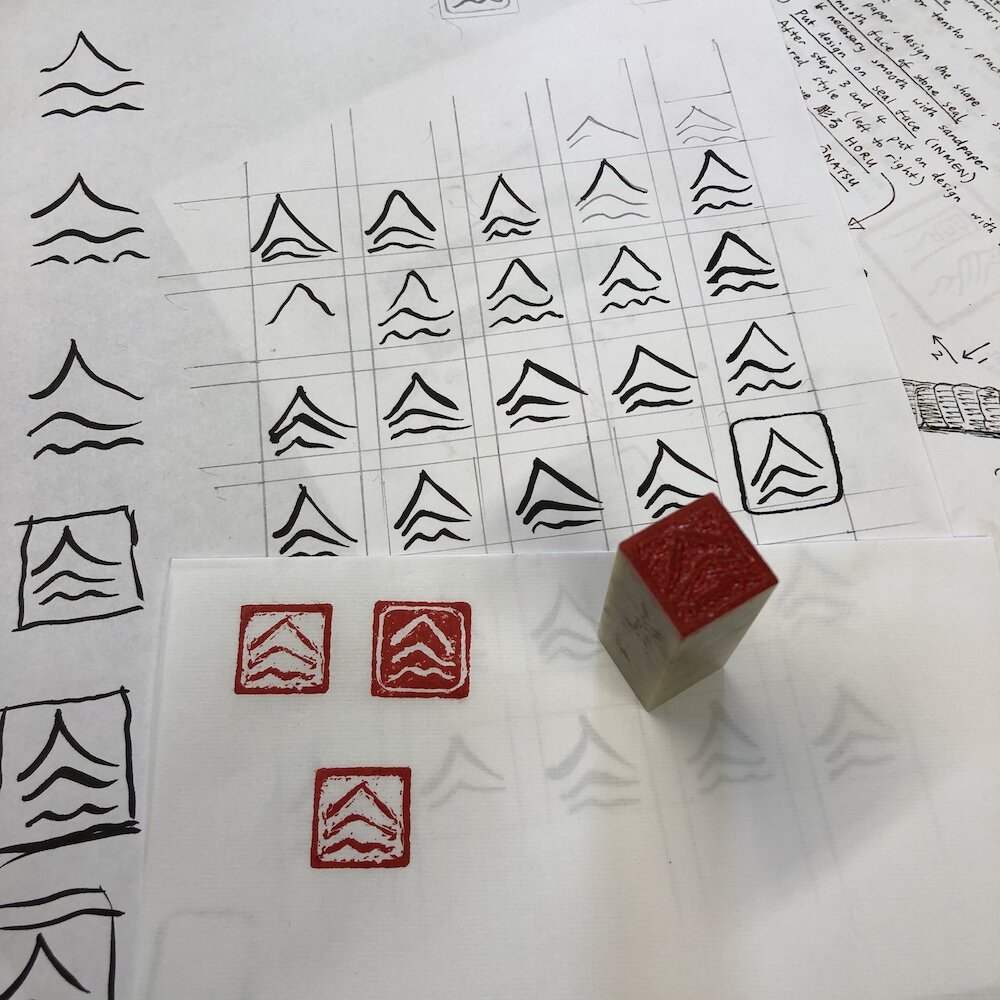
Thinking about the elements within the landscape that appeal to my eye, we developed the idea of three lines which represent the mountains, water and ground within the landscape. The images below show our initial sketches as we tried out different variations of each element through to the final design.

The preparation leading up to the workshop paid off as it meant I could discuss the design with the instructor to ensure that it was realistic.
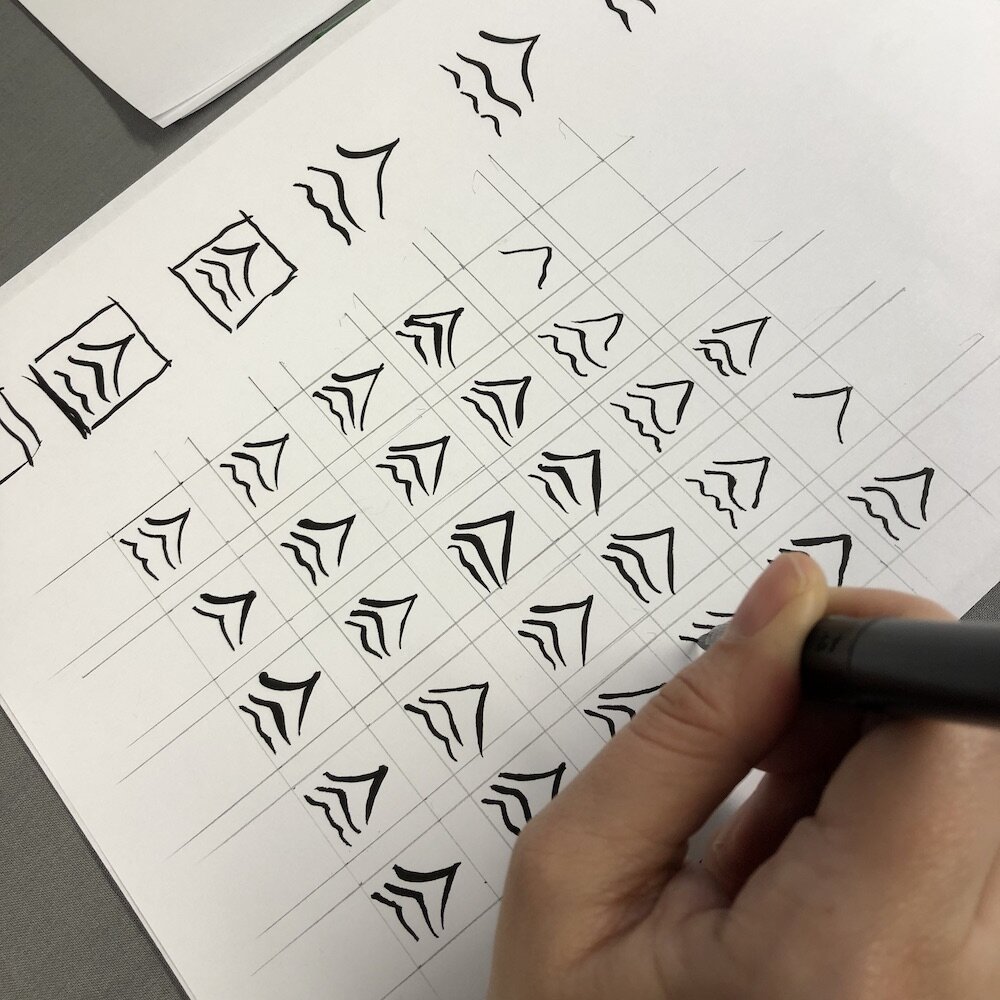
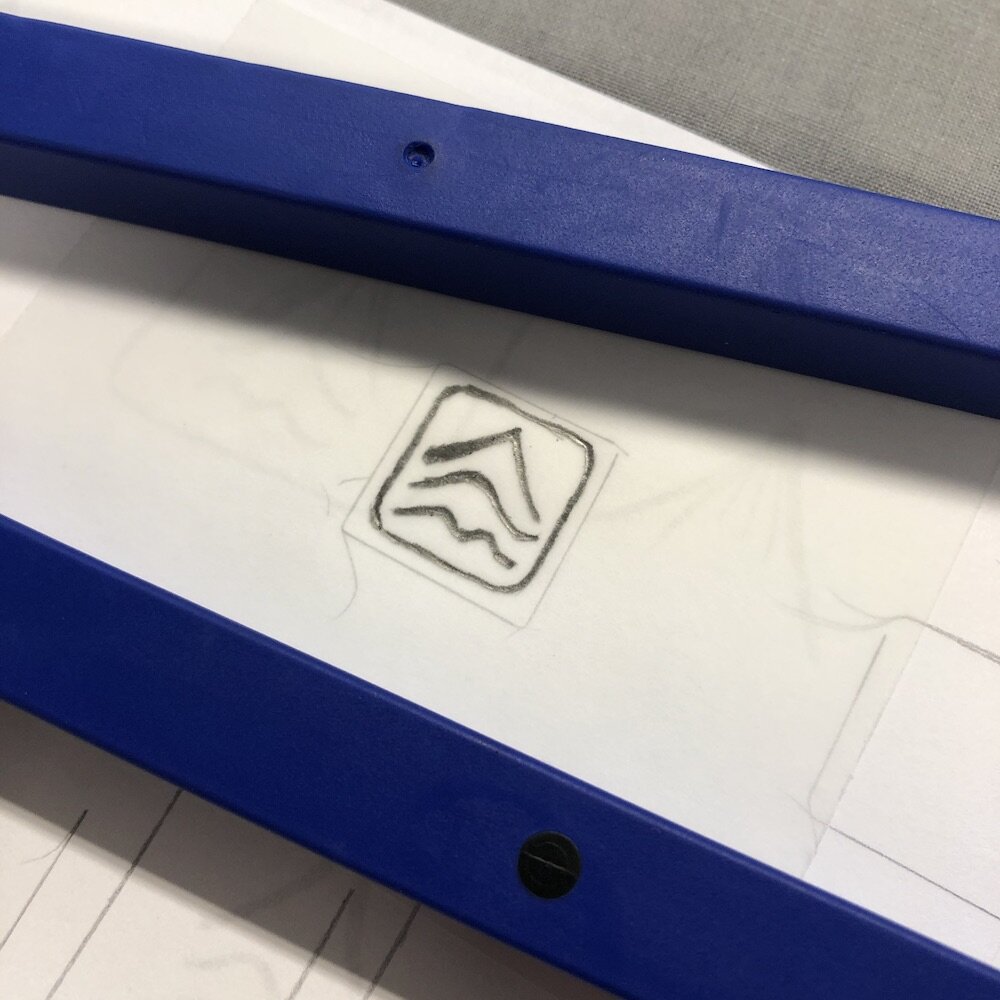
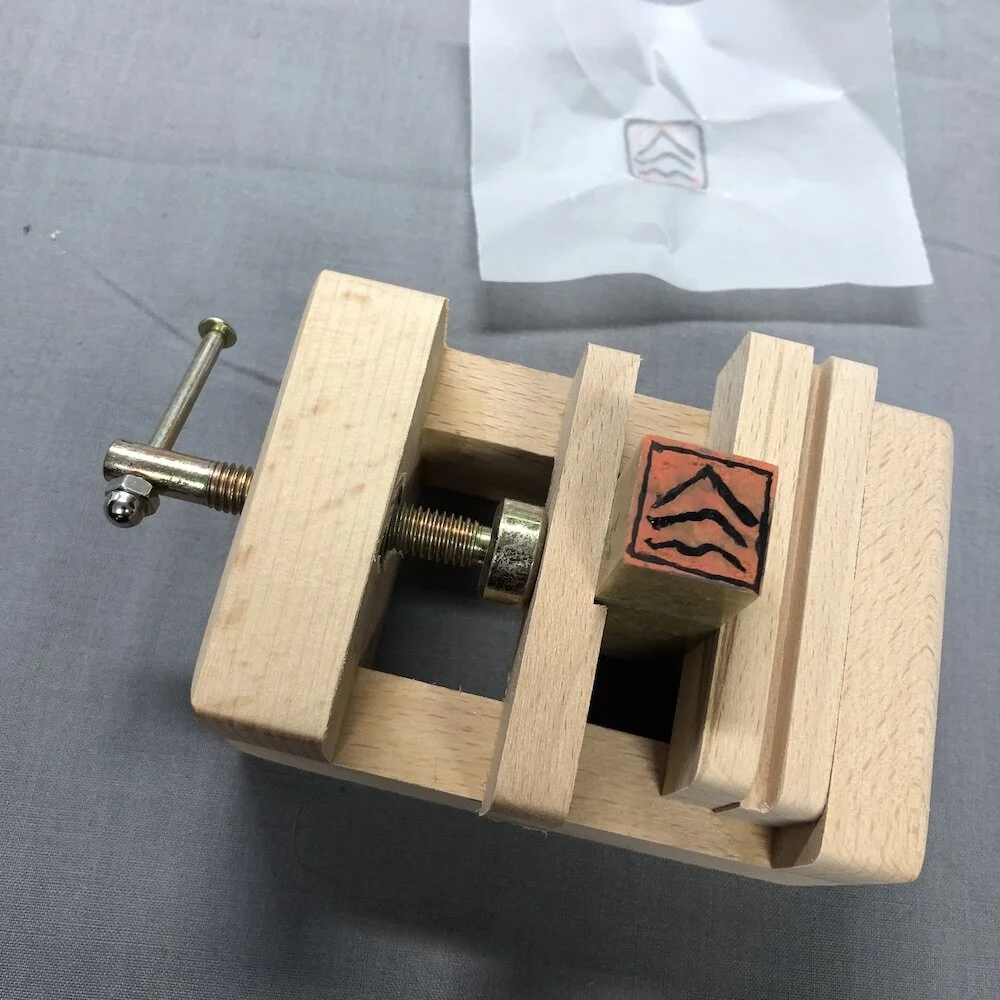
On the day I began drawing our design over and over at the scale of the stone. Once I was comfortable with the specific movement I was looking for in each line, I drew it on tracing paper which then allows you to transfer the design onto the stone.
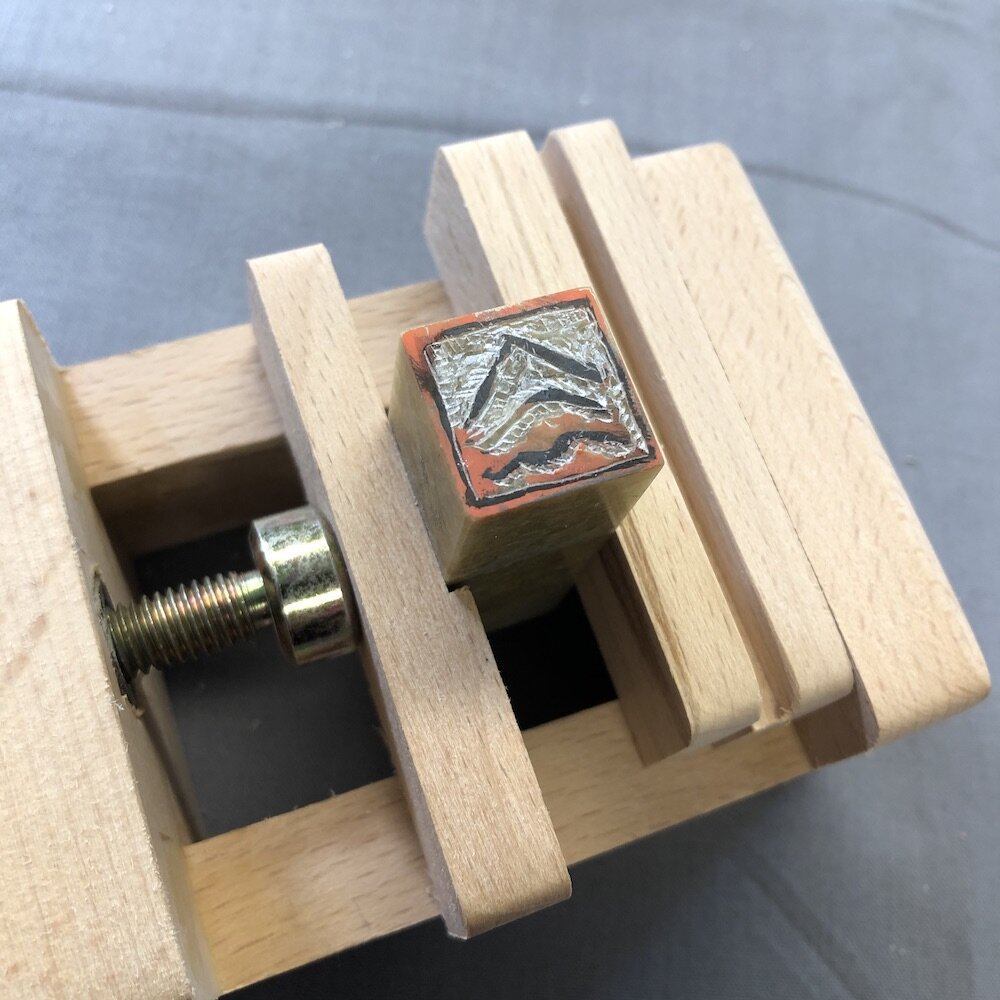
After it has been clearly highlighted on the stone it’s time to begin carving… and this is where mistakes are costly!
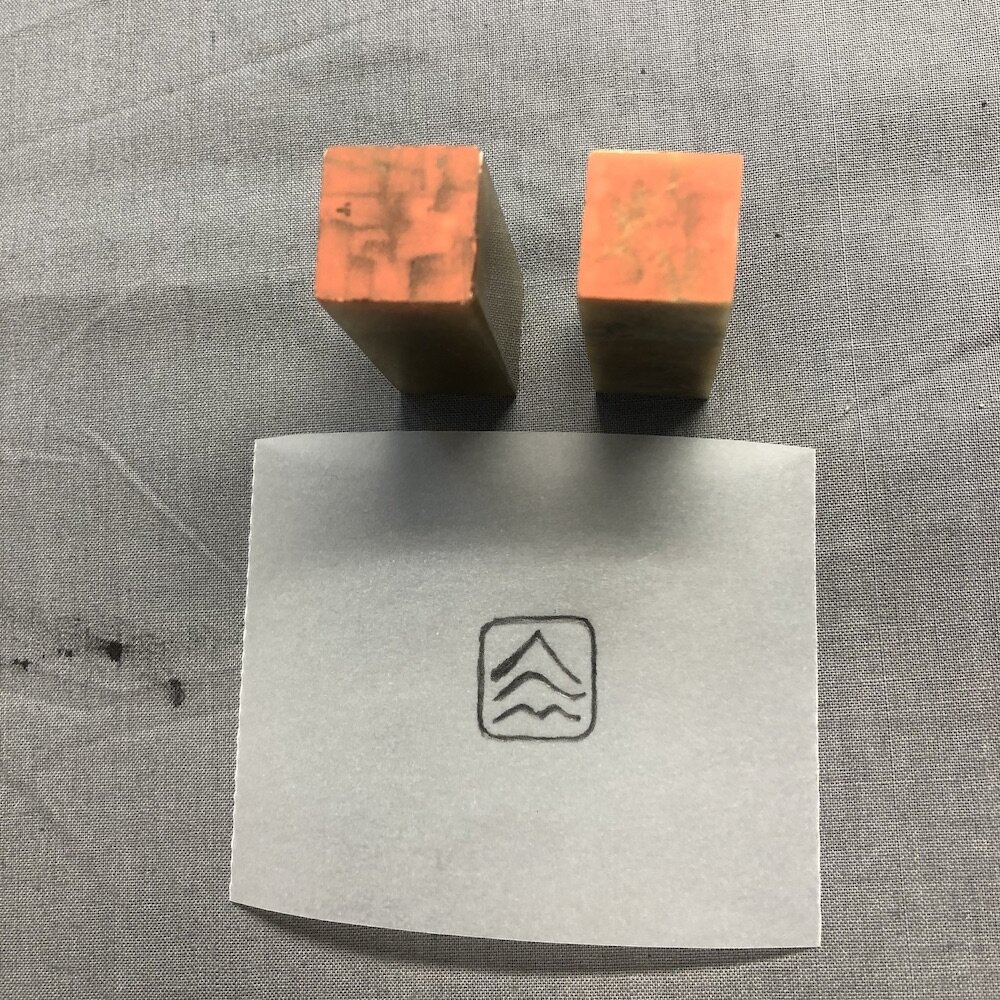
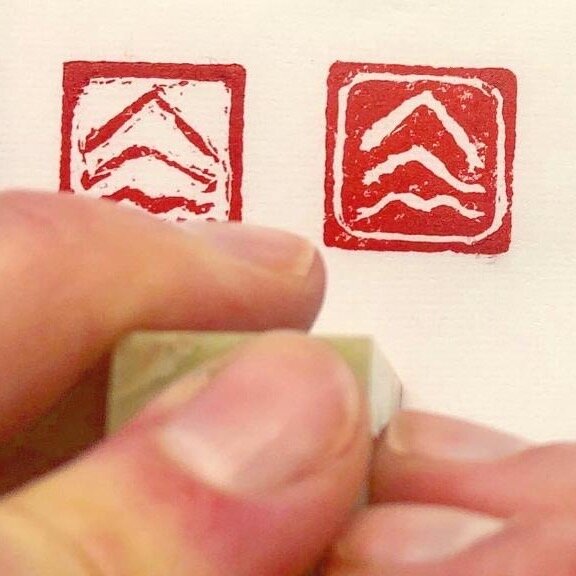
As you can see from the image below (2nd from the left), I was producing two marks. I was carving one, my wife was carving the other. The marker on the left, which is my logo, was the harder of the two as it involved carving out all of the areas on the stone which are not red on paper.
The marker on the right, where the majority is red, required far less carving but it gives me the flexibility to use them for different purposes, for example on artist proofs.
We had a short time to carve the design and it was a slow start as I tried to get a feel for how much pressure was required. It was surprising to see how easy the knife went into the stone but also how deep you had to carve to create the definition needed for when ink was applied.
A small slip with the knife and you could lose a bit of stone that was critical to the design so it was slow and steady.
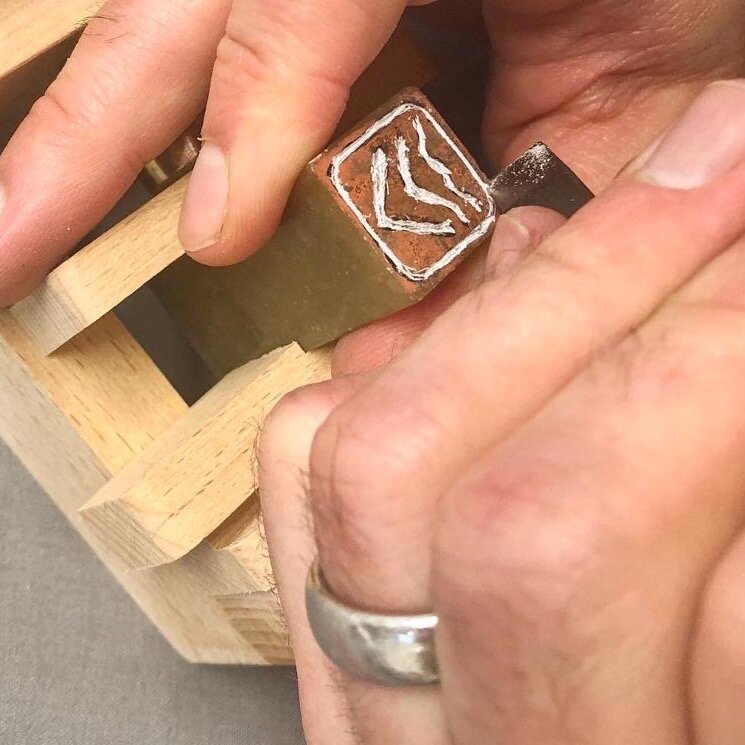
One of the aspects about the marker that I like is that the lines aren’t perfect, the edges aren’t smooth and there are areas of the stone which I intended to carve but didn’t create enough definition leaving nice detailing.

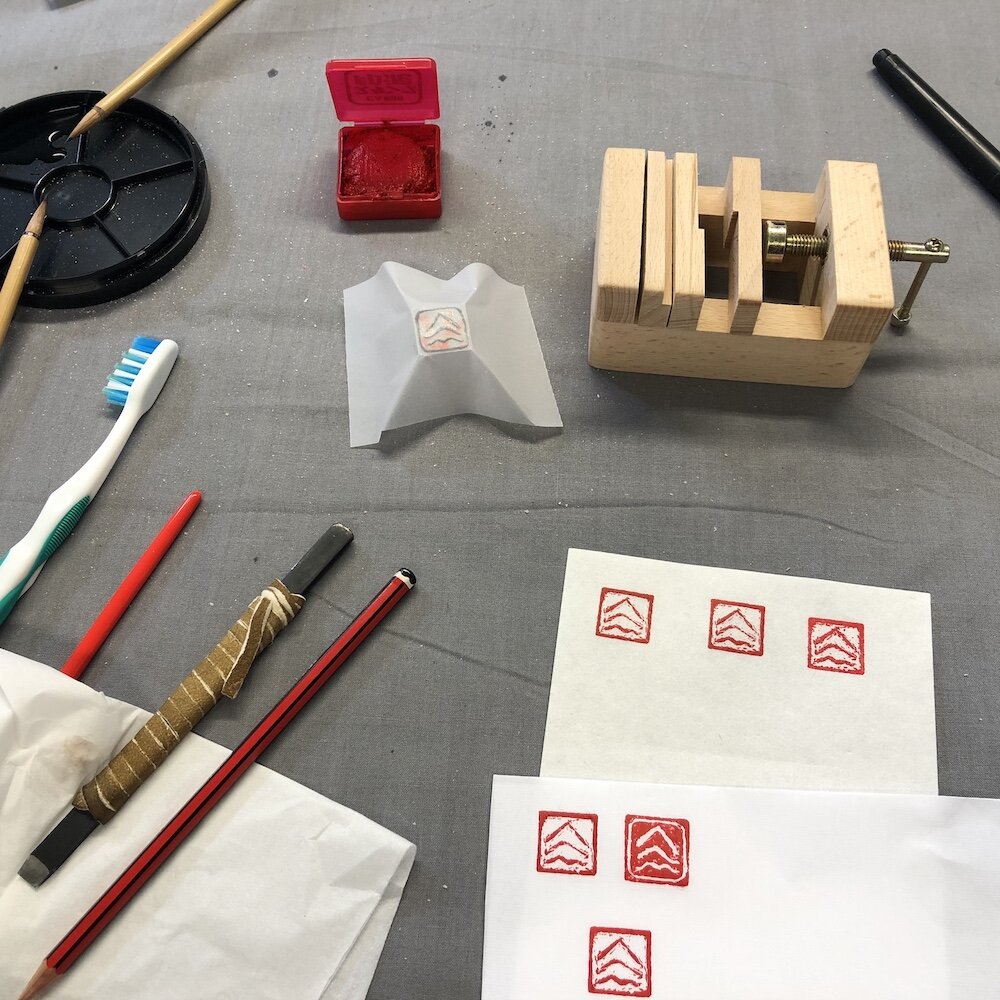
As for ink, I am currently trying to source some high quality inks from Japan, otherwise I will source some in the UK.
The last stage was to convert the printed mark to a digital format that would allow me to use it on my website, etc. This is something far beyond my abilities and I would like to thank Richard Earney for taking my mark and creating the digital version you see at the top of this page.