
The Eigg Box
Following on from Snow Streets, another project I have been working on recently has been The Eigg Box.
As mentioned in my article on Snow Streets, I participated in a box making workshop last month and along with the slipcase we made an A4 box. Knowing I would be making a box was the catalyst behind the idea of The Eigg Box.
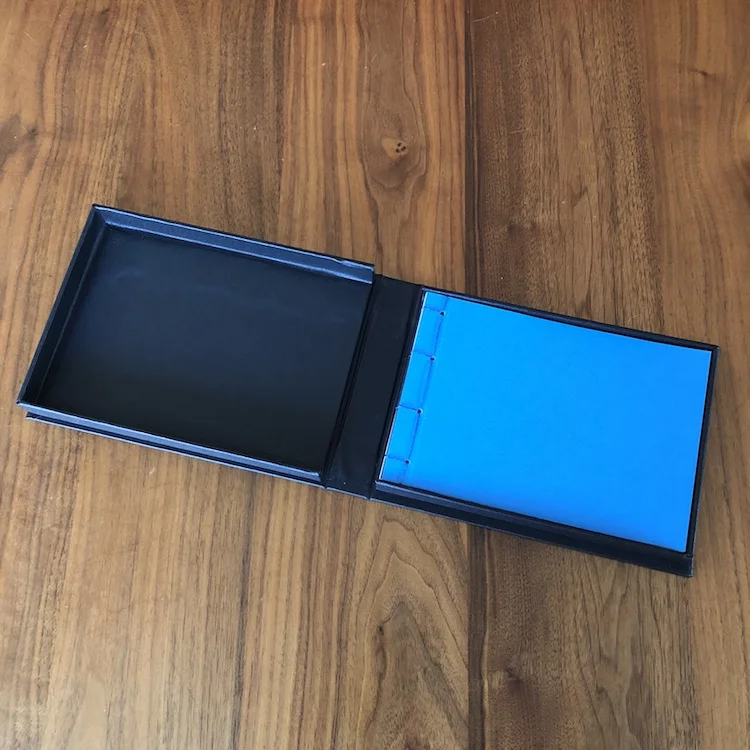
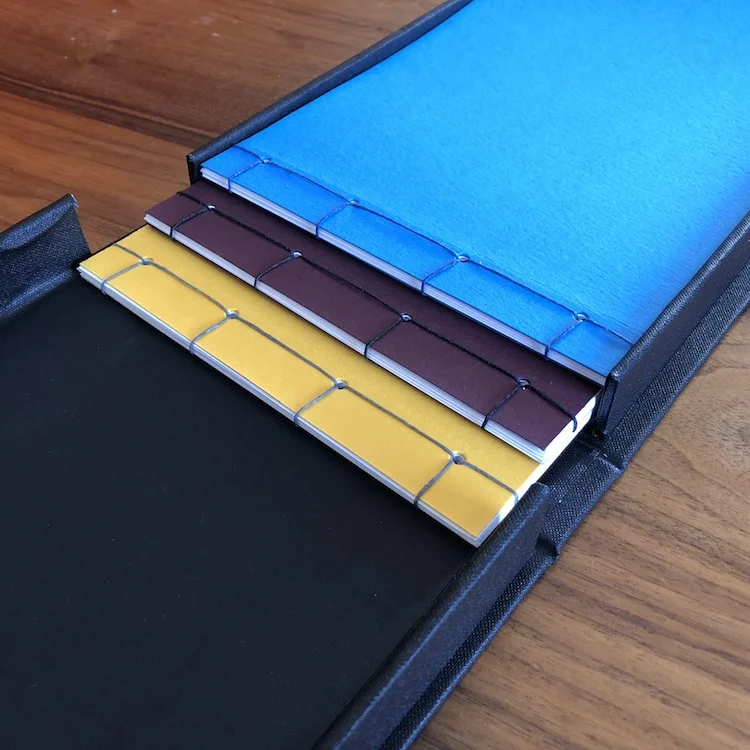
In August last year we spent a couple of days on the Isle of Eigg, and after returning and reviewing some images I had the idea for a trio of books covering the trip, Out to Rum, Finger of God and The Laig Sands, which I wanted to package up in a handmade box.
In a similar way to Snow Streets, the project is as much about the final product as it is about the images. Whilst I did shoot on my camera, I wanted a consistency in the images hence I used images all shot on my phone.
The images below are of the finished product followed by a page-turning video for anyone who would like it all in more detail. Following the video I talk a bit about the making of the box.
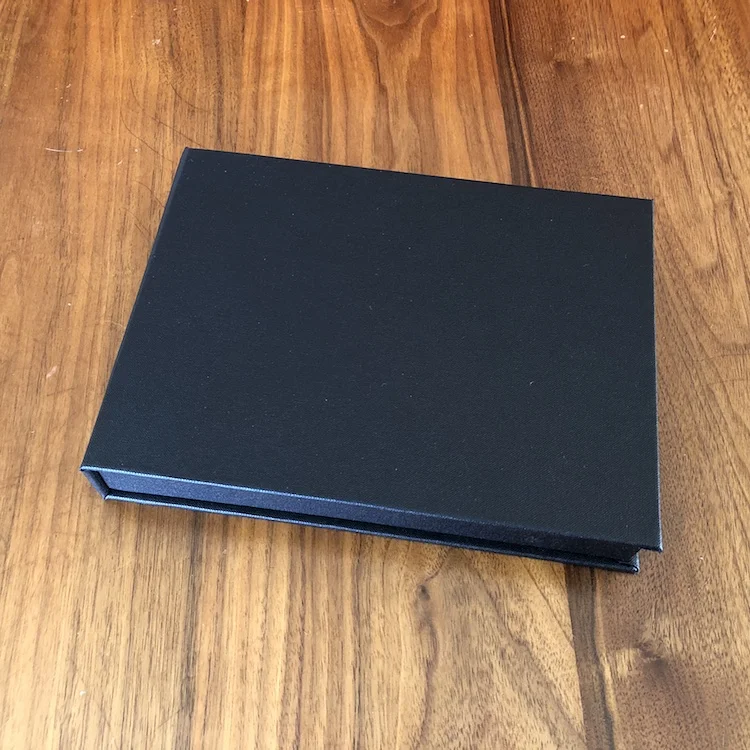
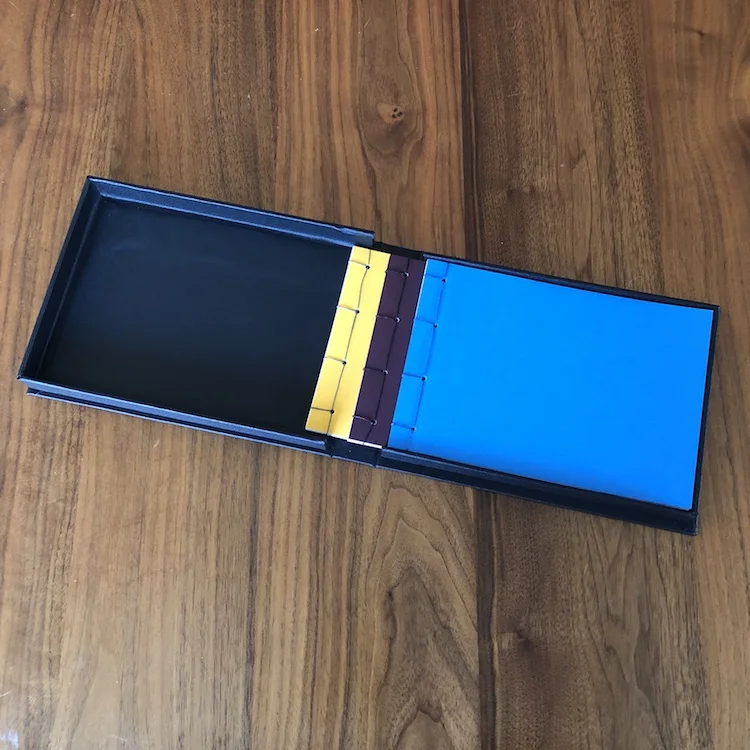
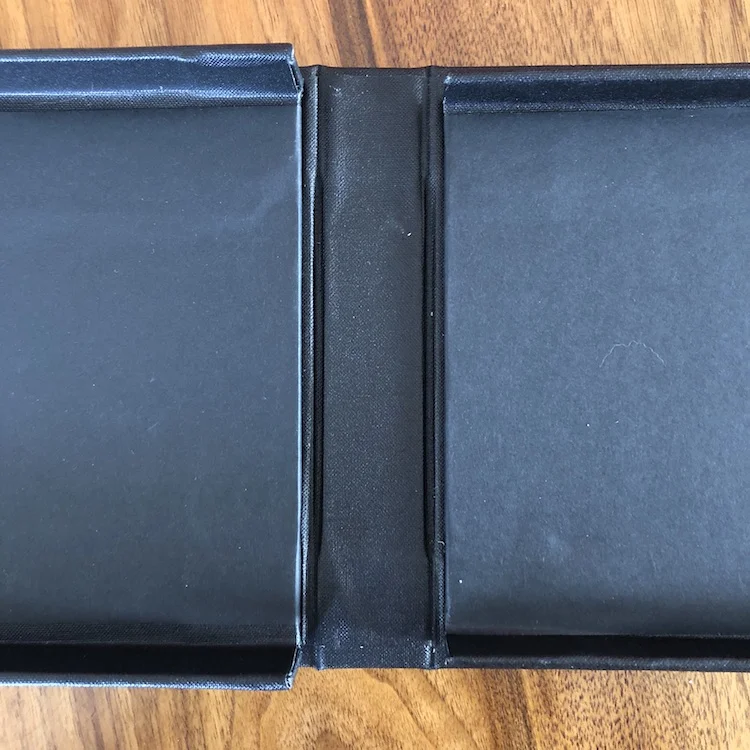
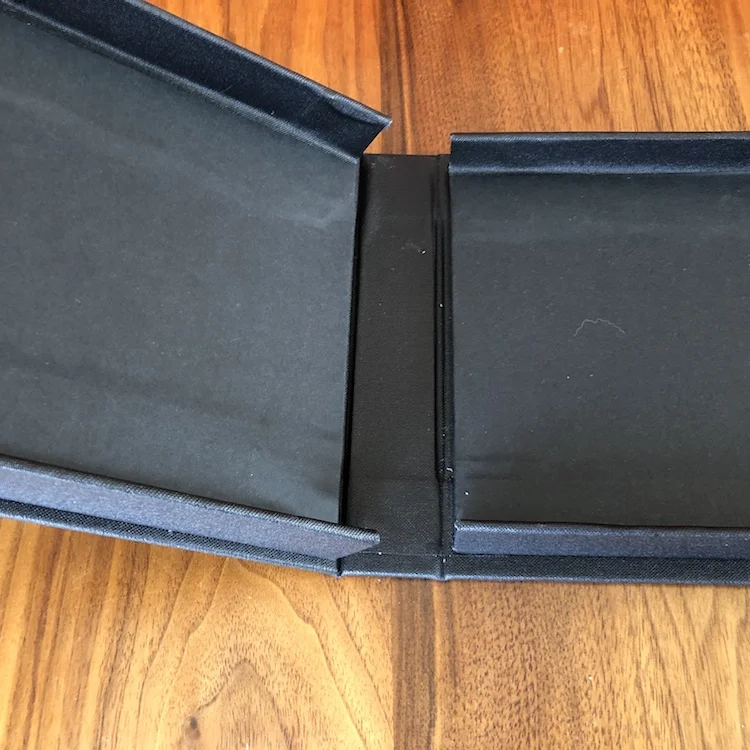
The Box
On the workshop we produced an A4 box but DAD’s kindly offered to provide me with the board material and cloth I needed to make a custom box for my trio of books.
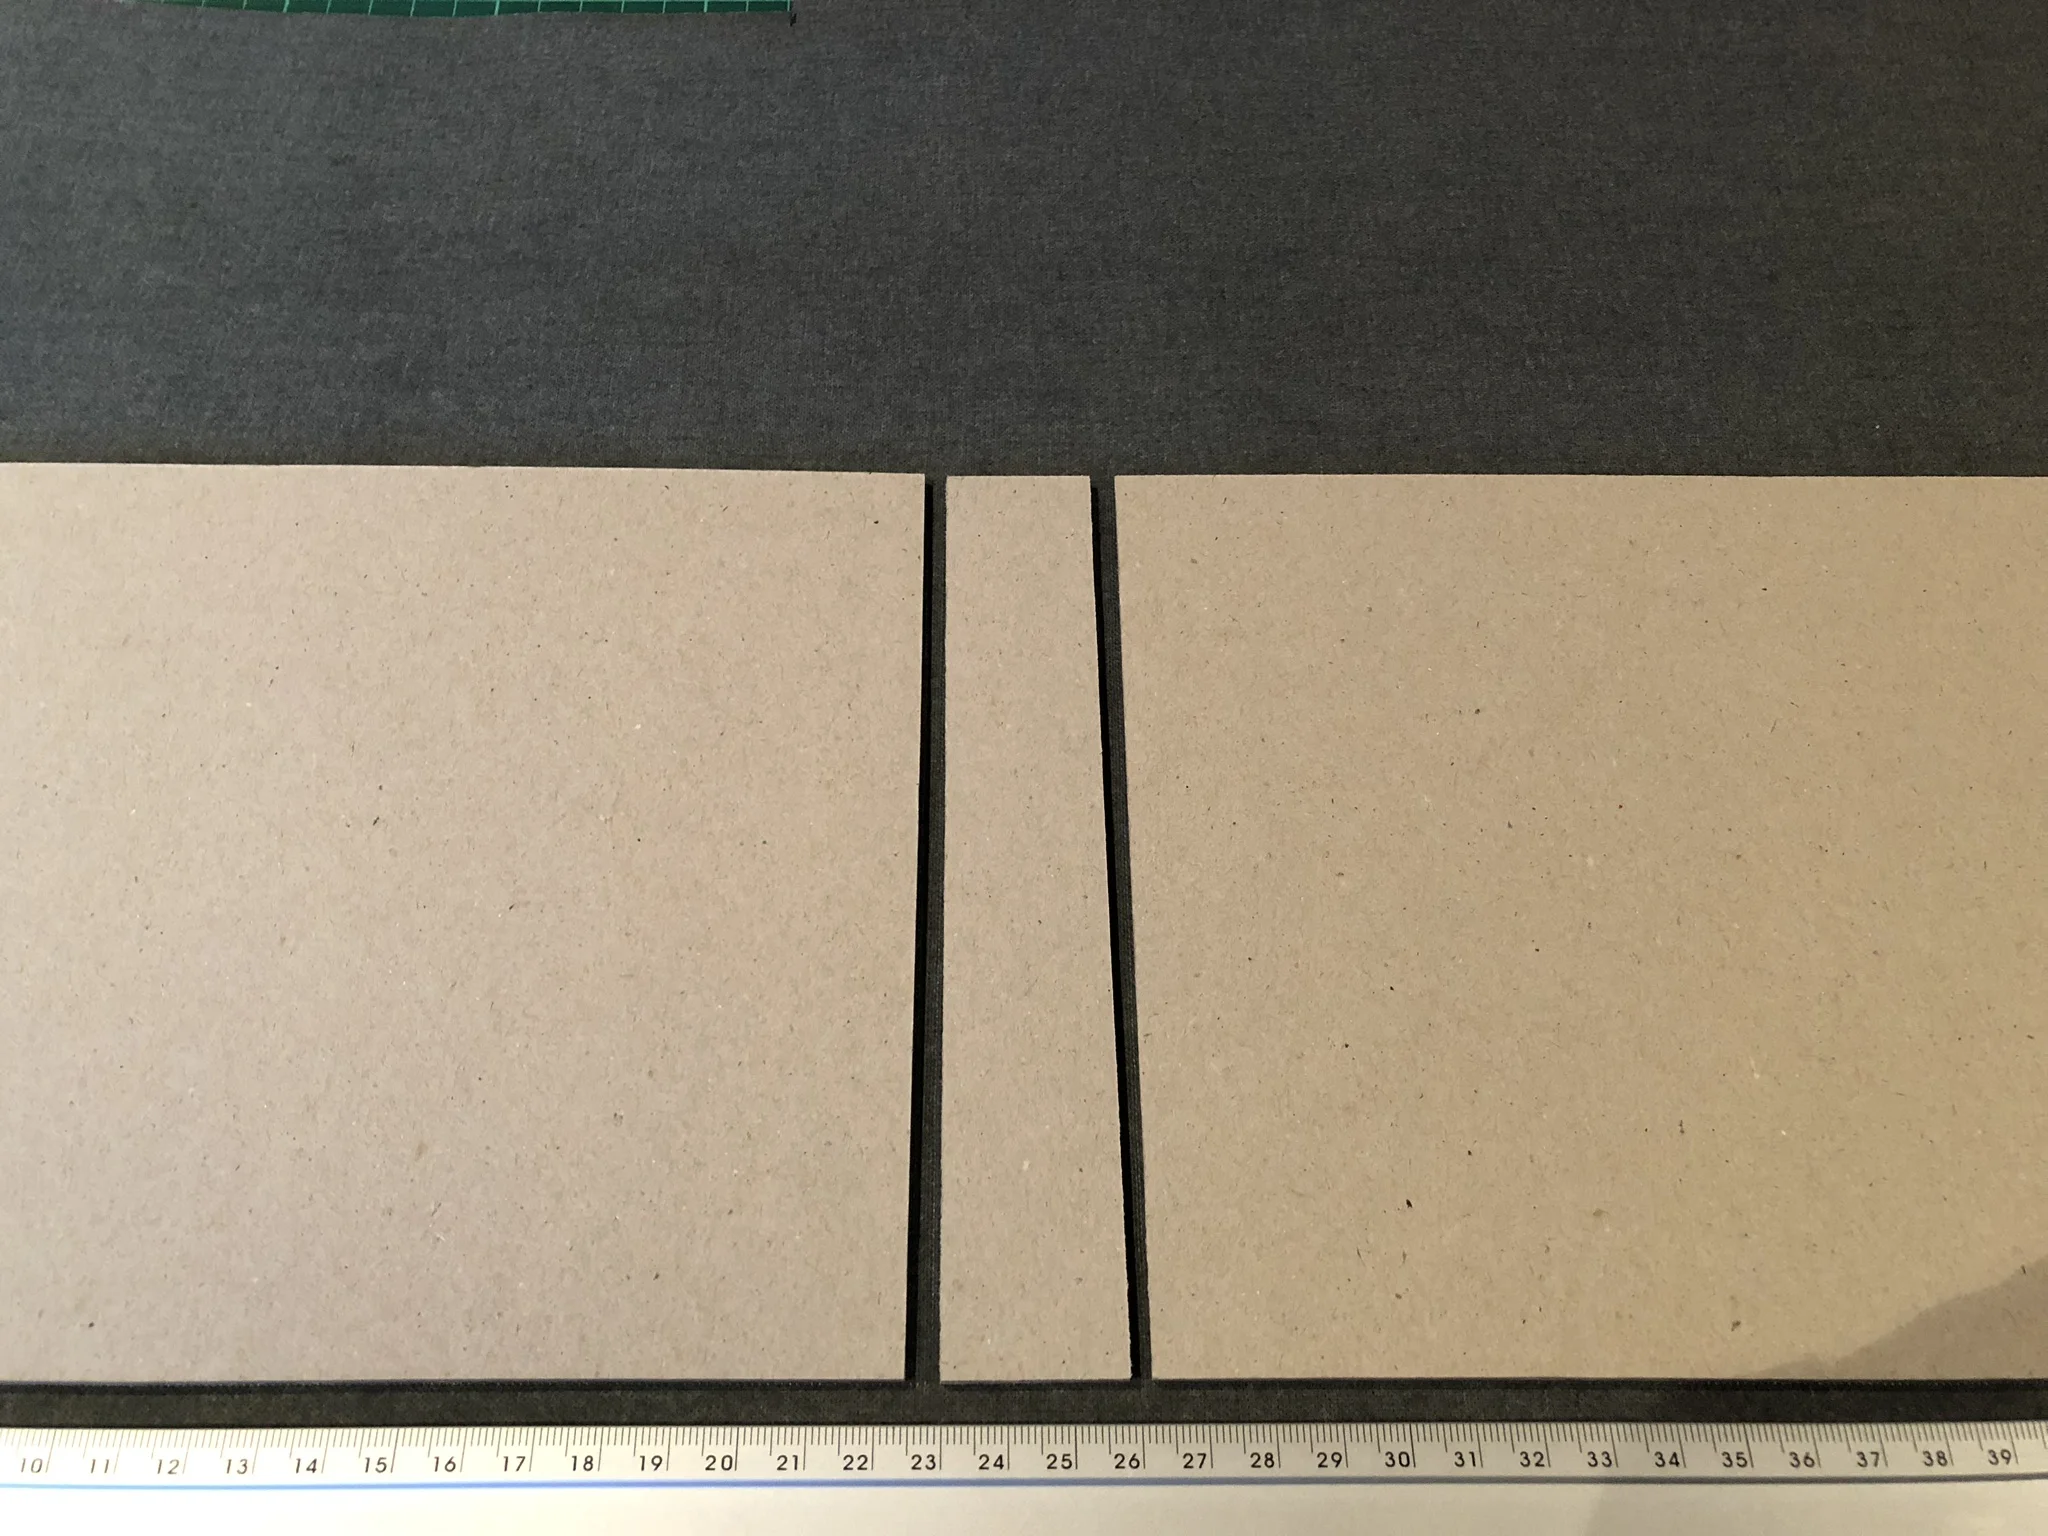
Taking my books along they measured them up and I came away with the board cut to size only having to rely on my memory and photographic notes of how the box was constructed.
I had hoped to make it prior to going on holiday when it would be fresh in my head, but as usual other things got in the way and so it was only on my return that I was able to make the time time to make it.
From the outset I had decided I would not attempt to make it in a single evening and that I would do it over a number of nights allowing me to take my time and giving it a chance to dry overnight where required.
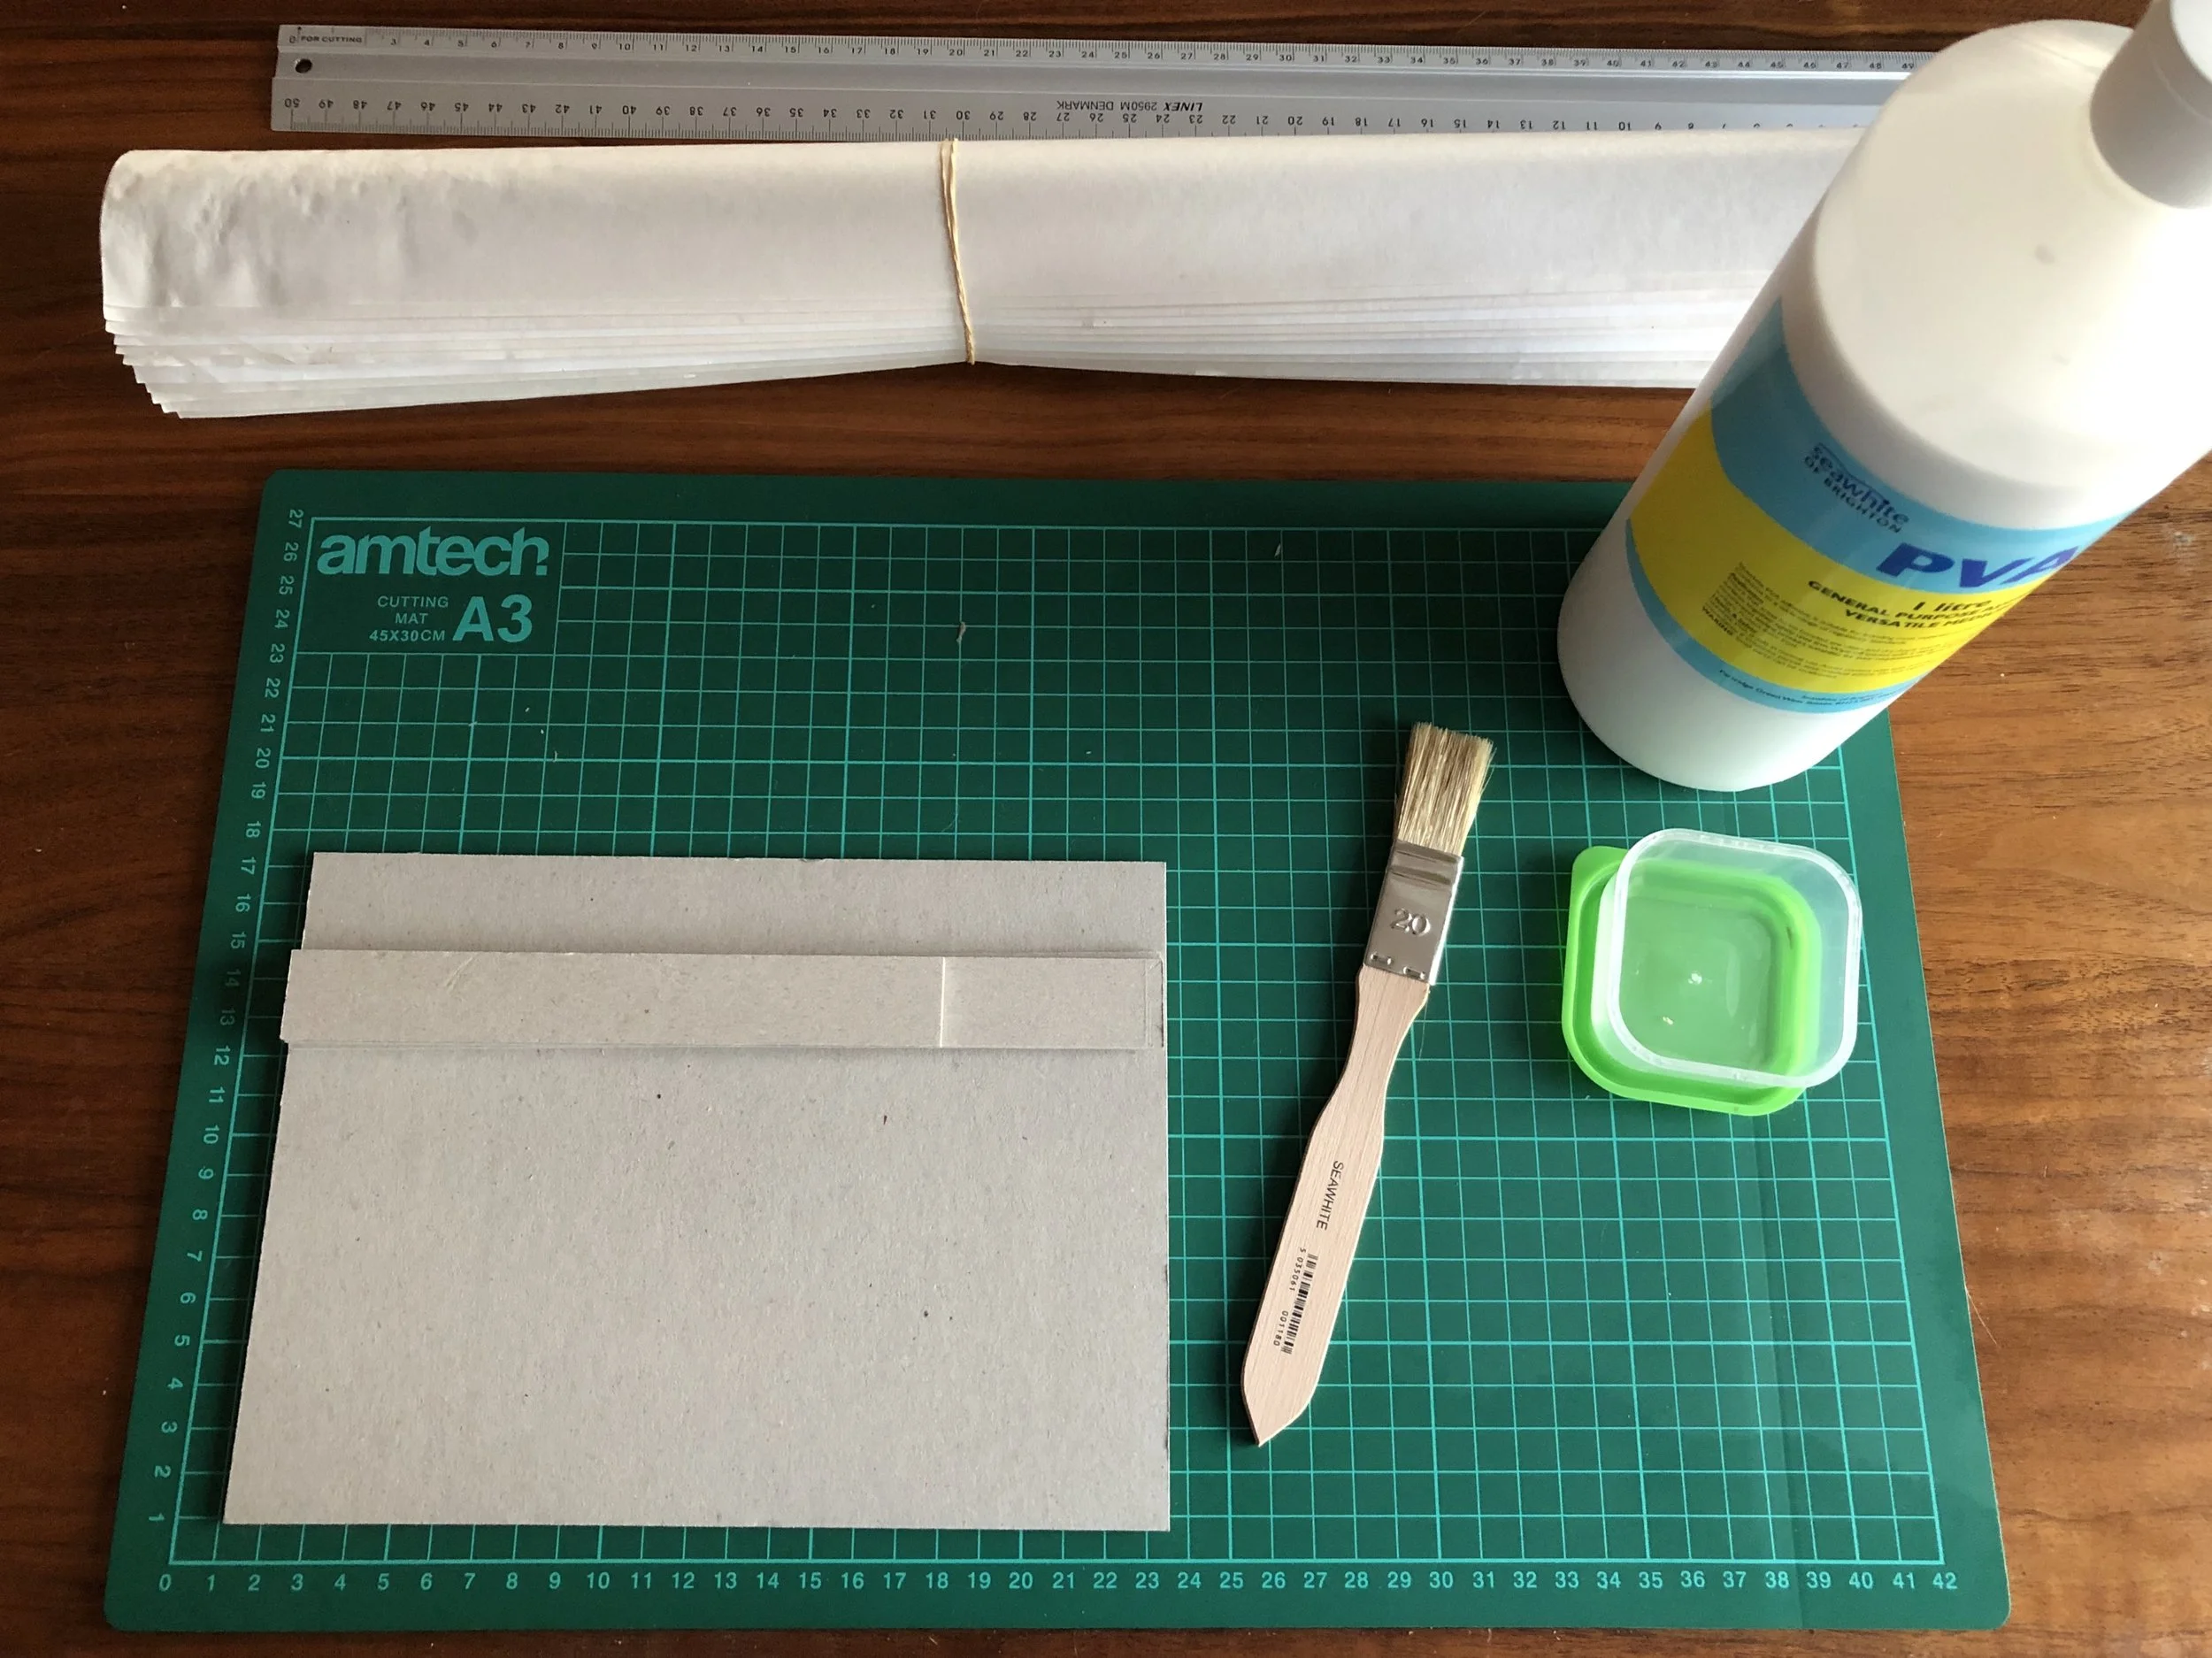
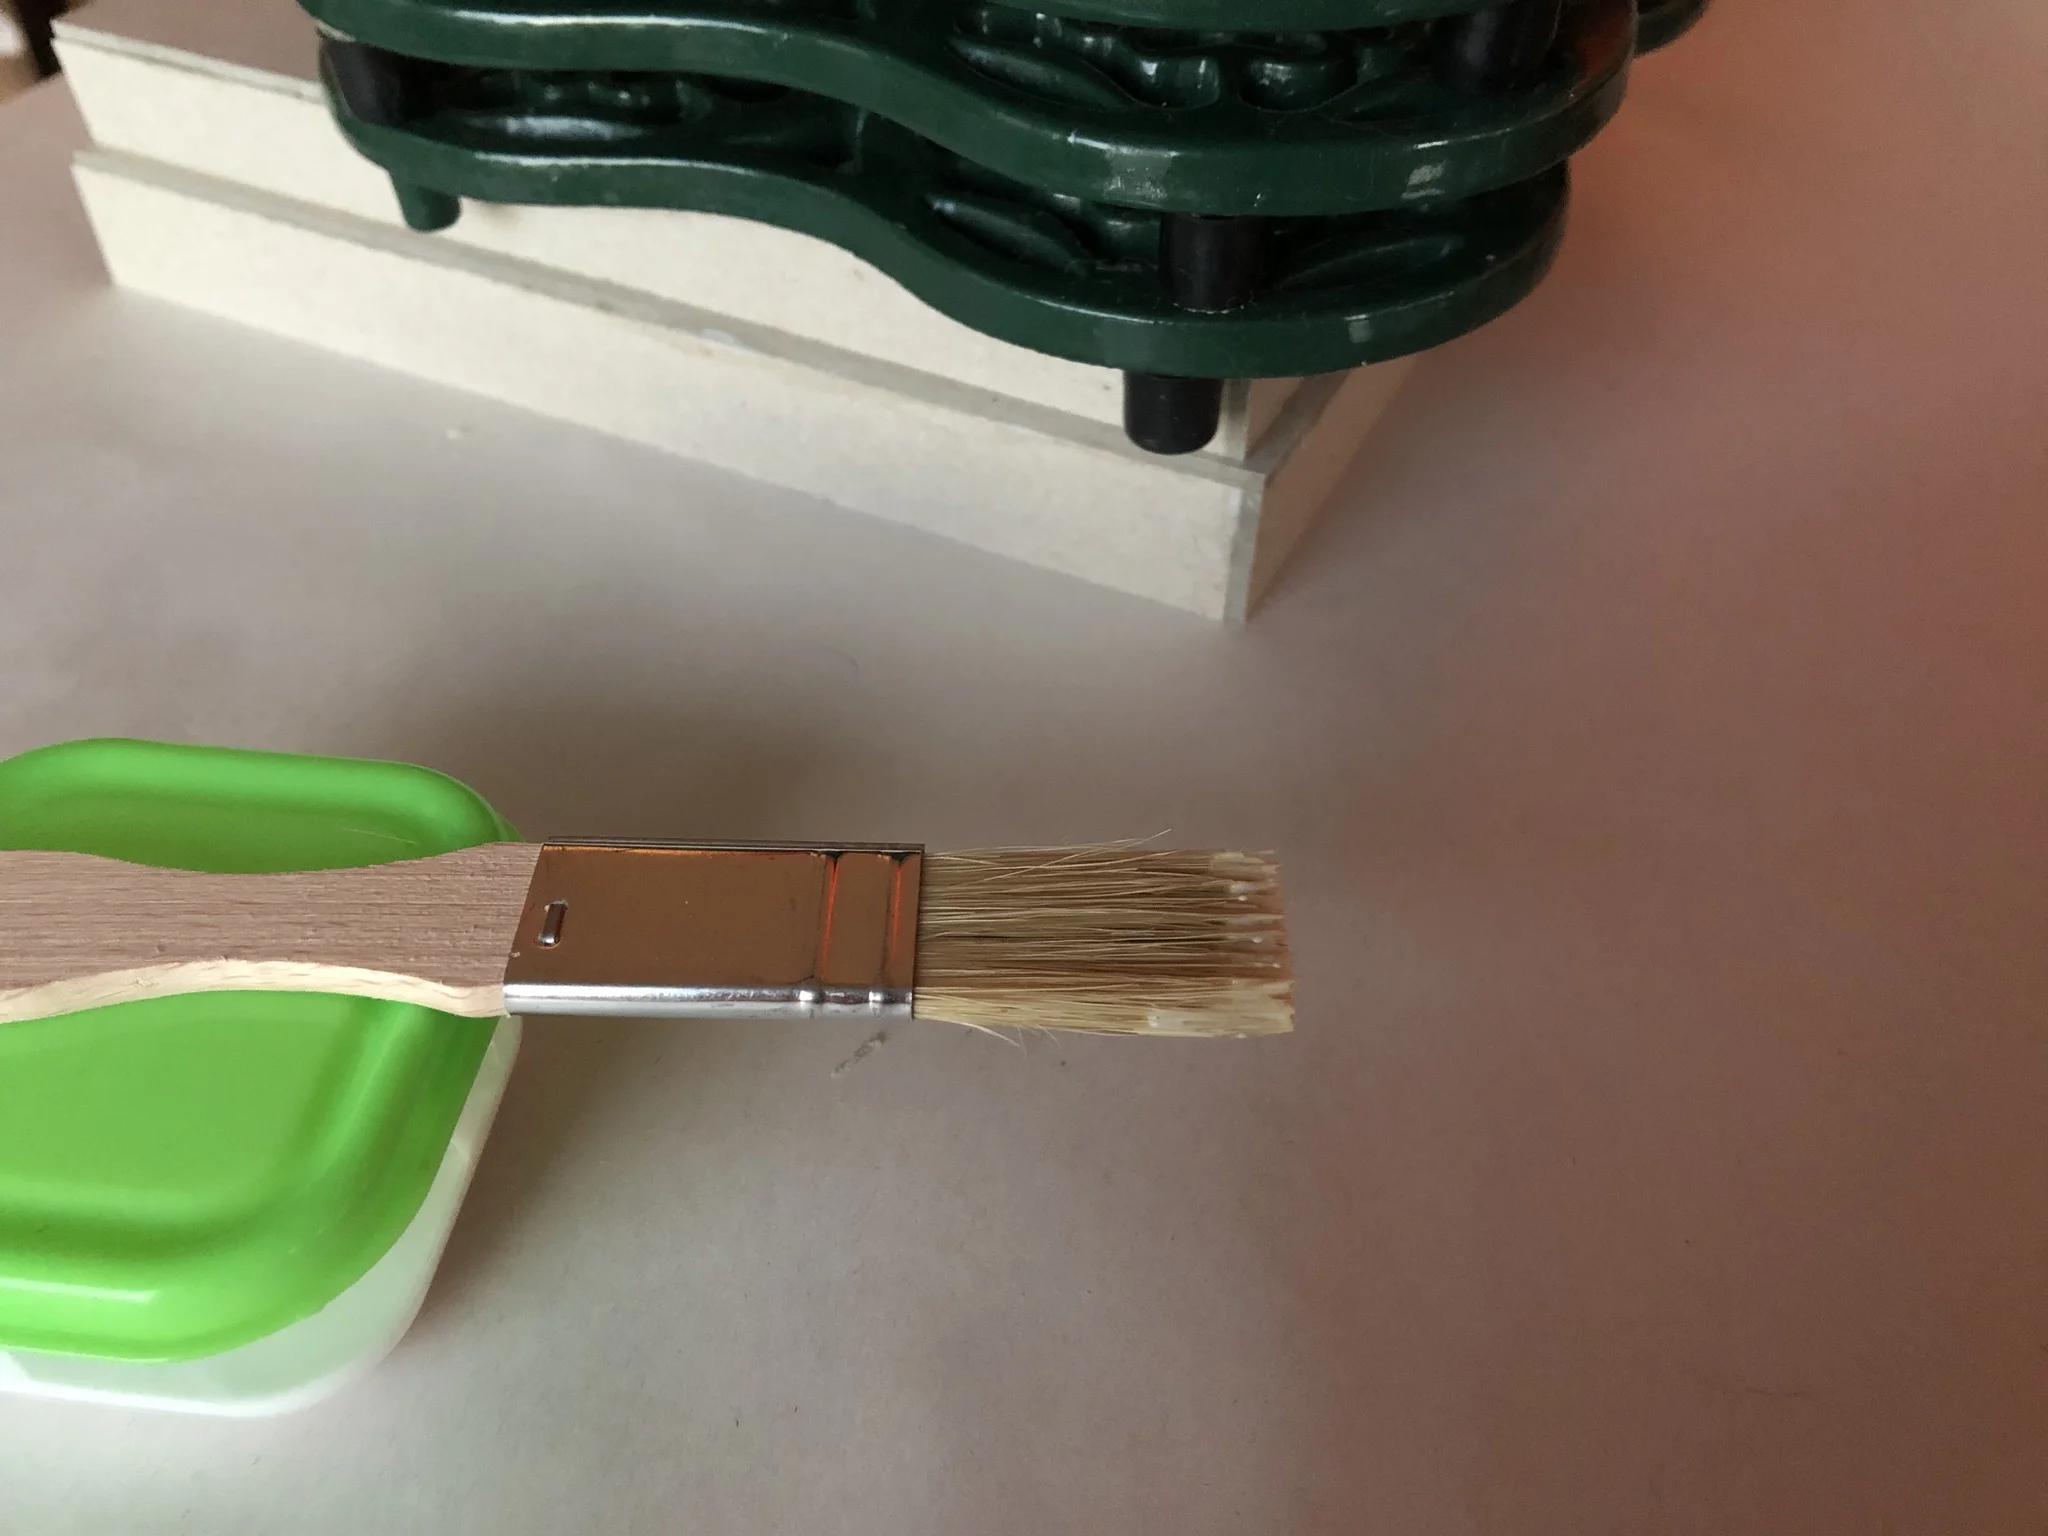
The first stage of gluing the base and lid together went well. I had a better idea of how much glue to use and it held together well. With time not an issue I left it to dry overnight with some heavy cast iron trivets on top.
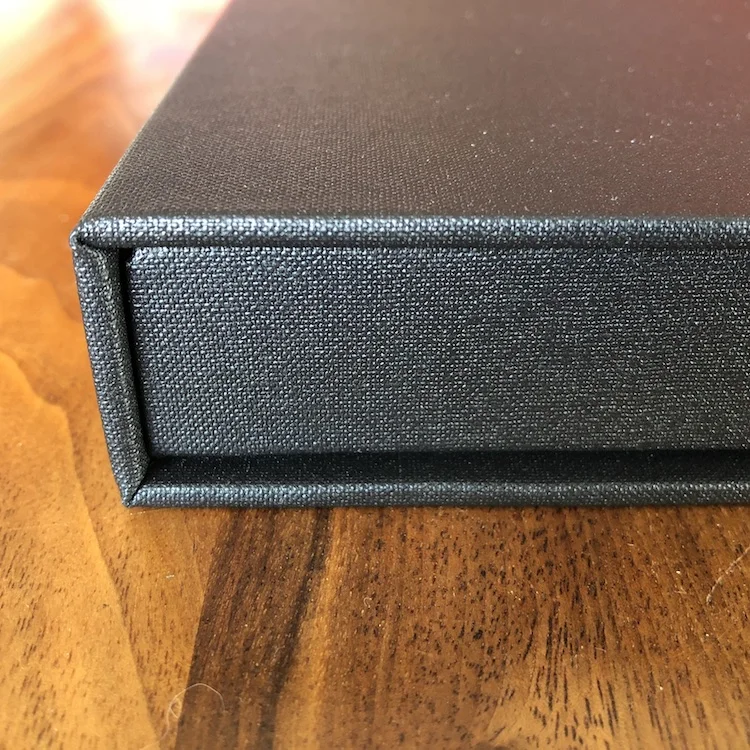
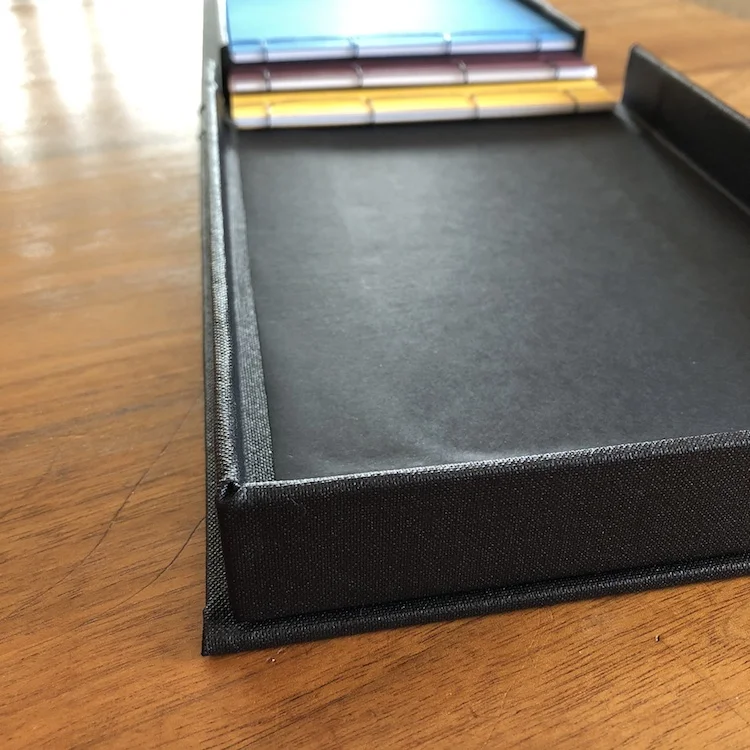
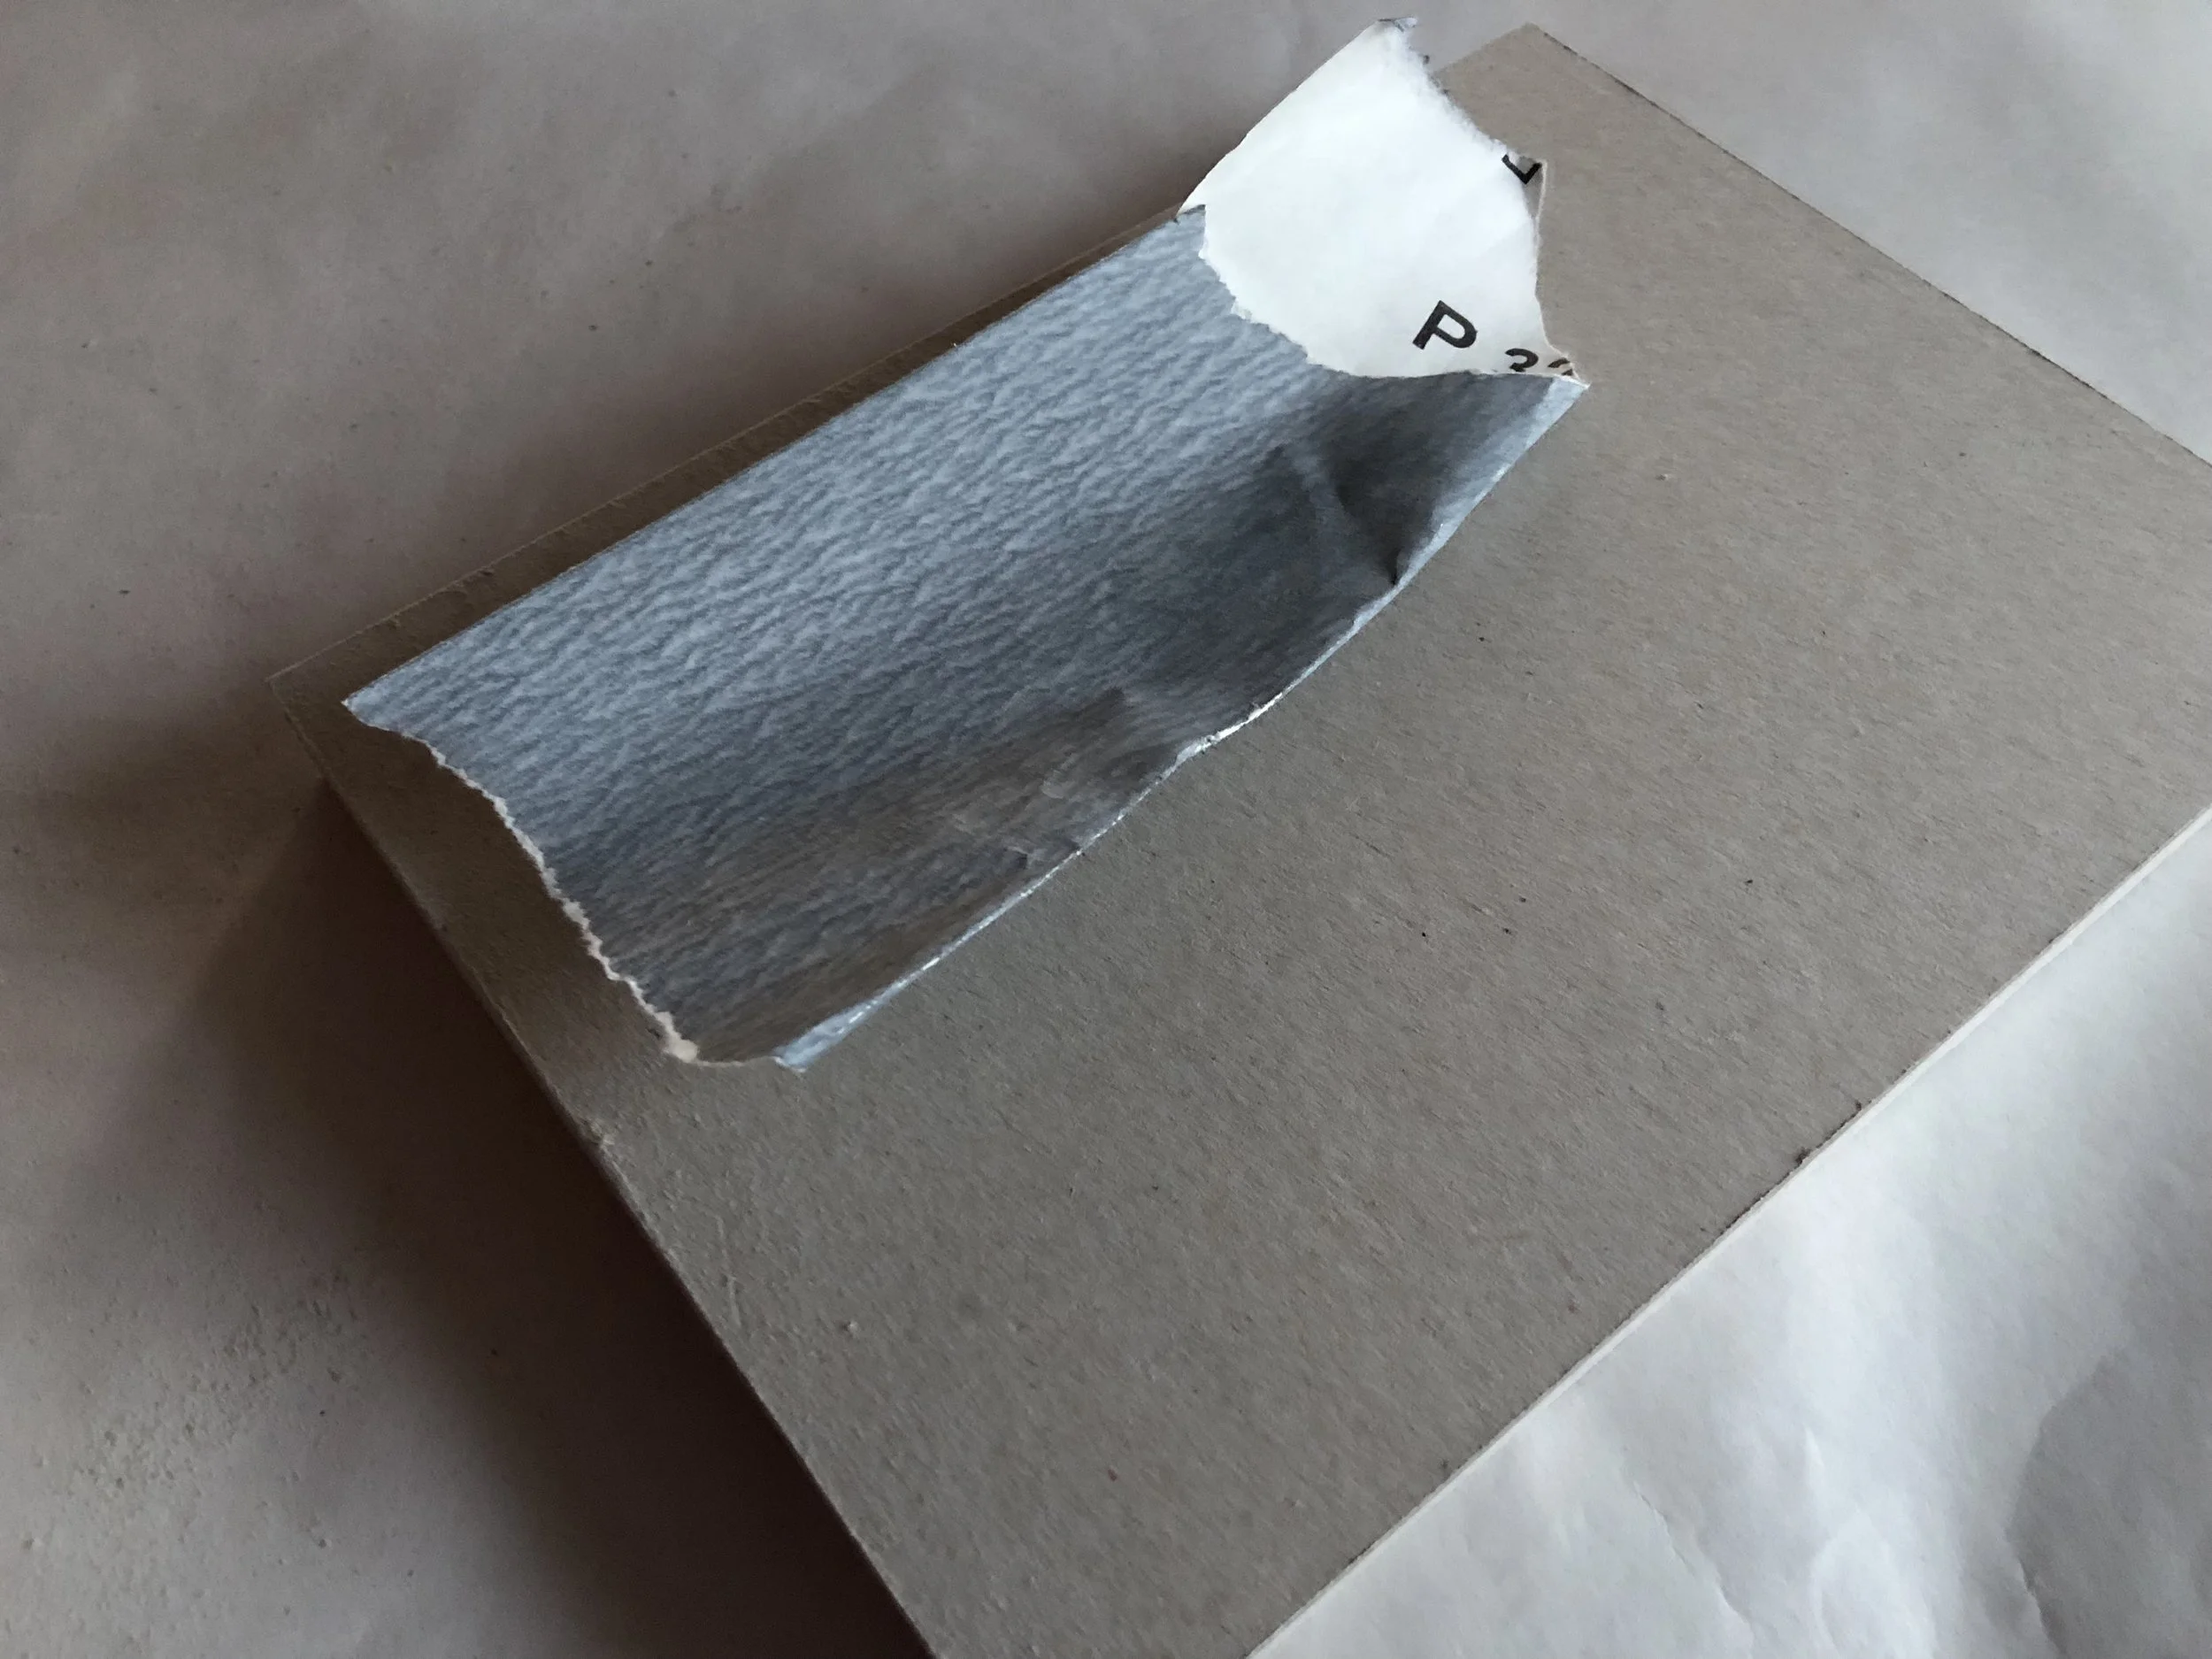
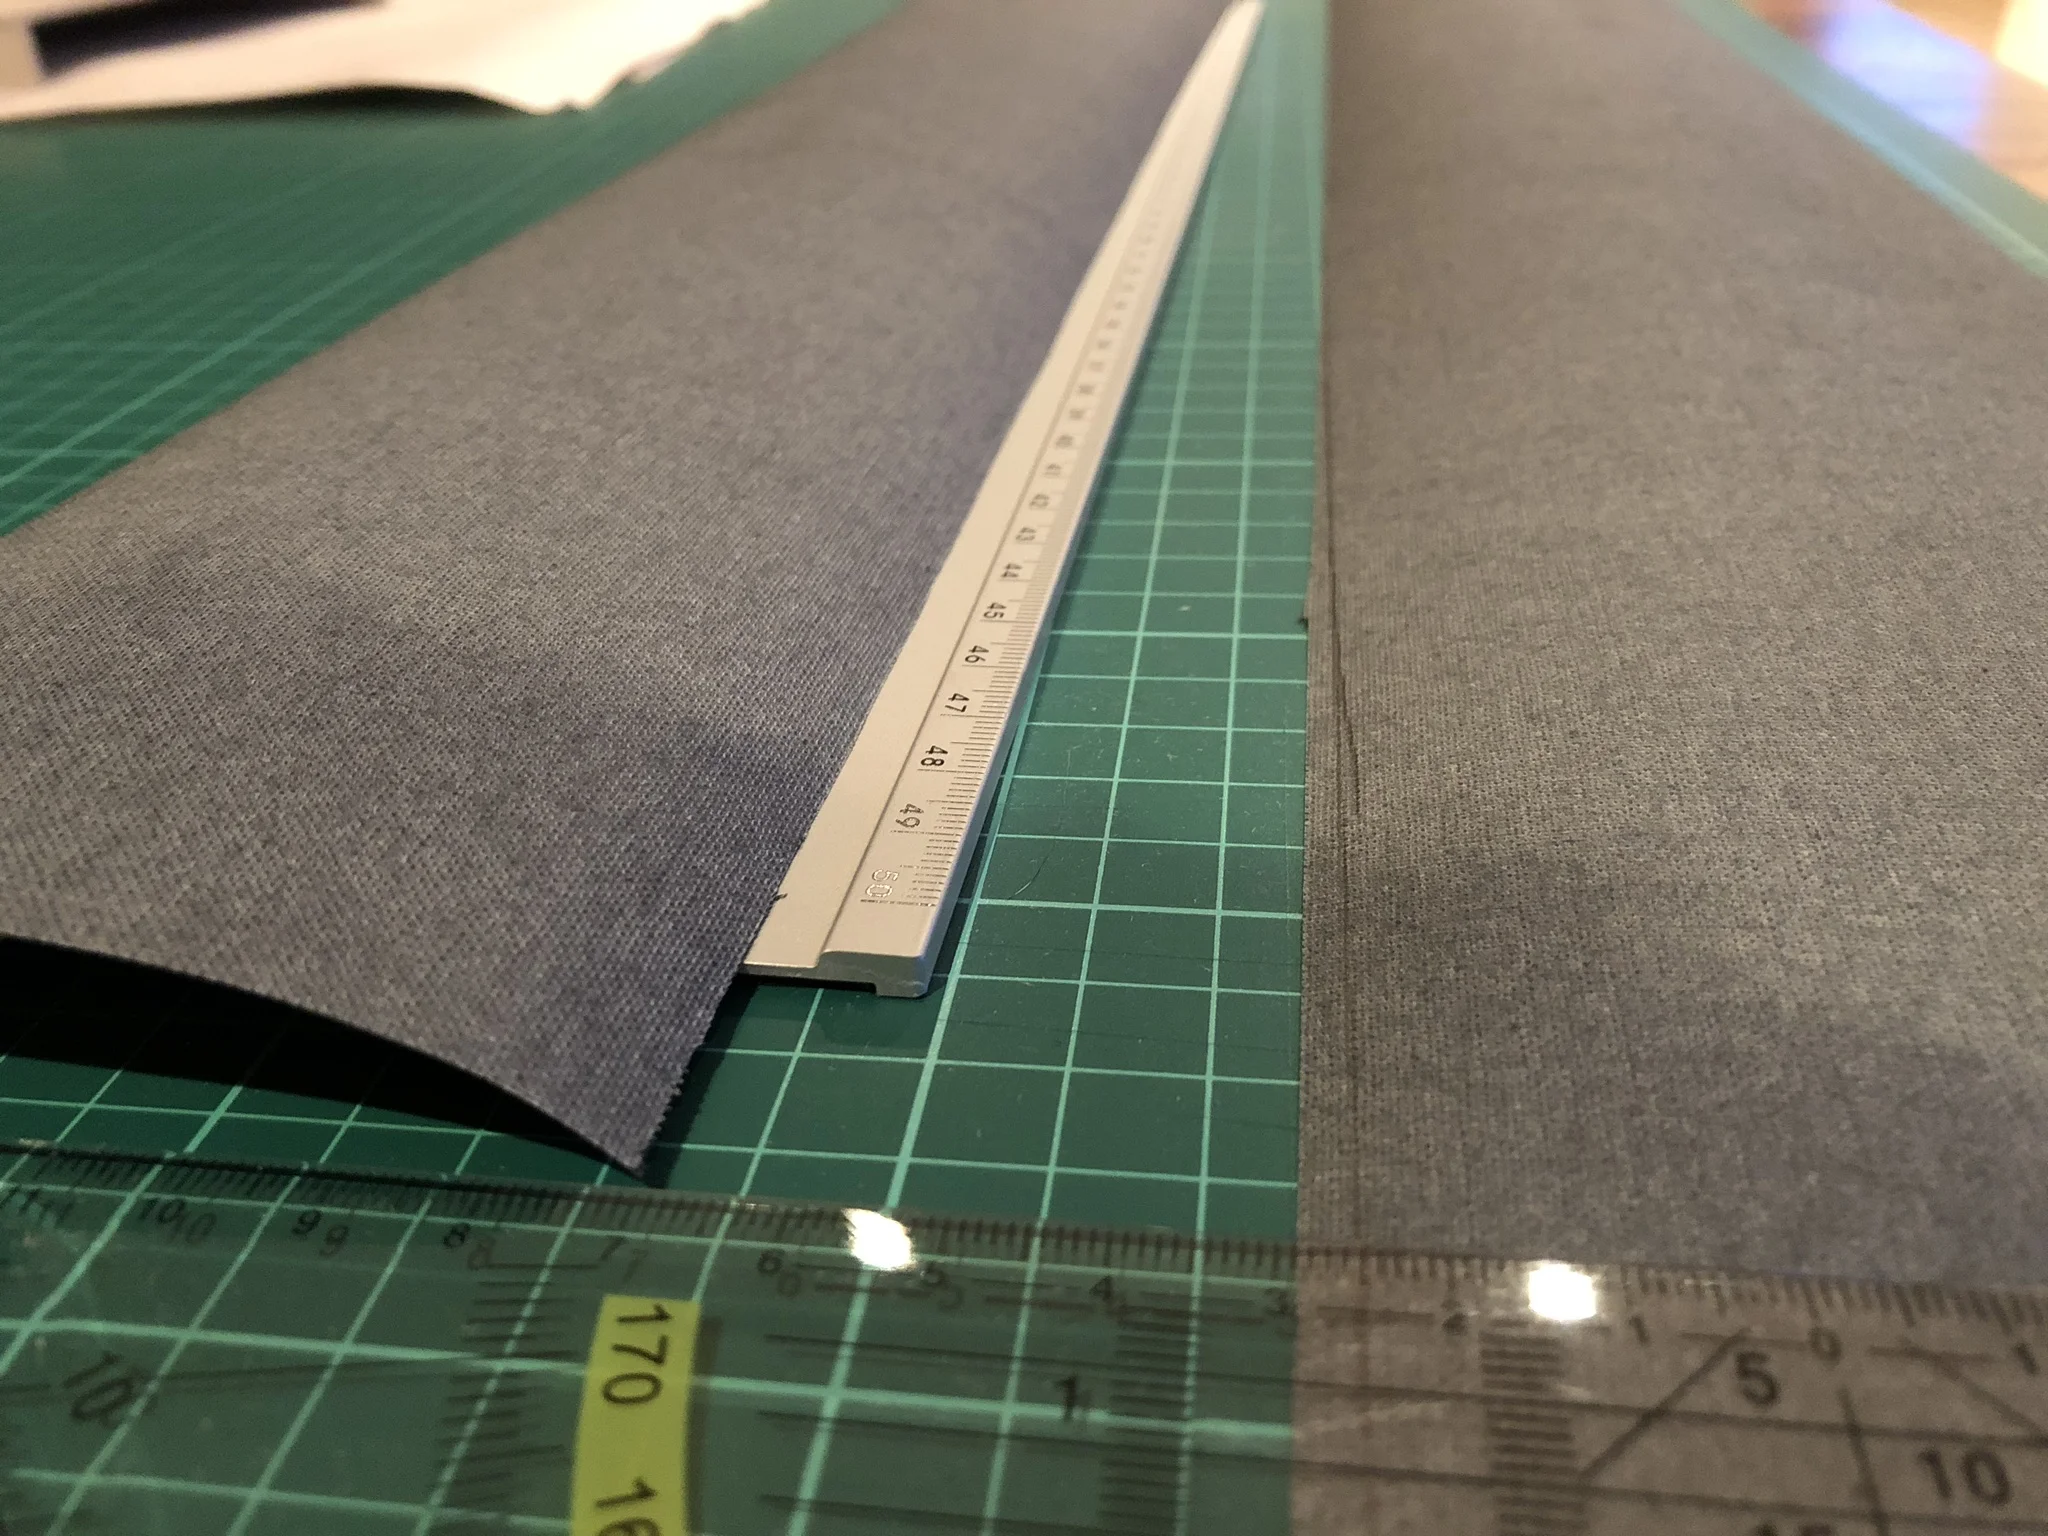
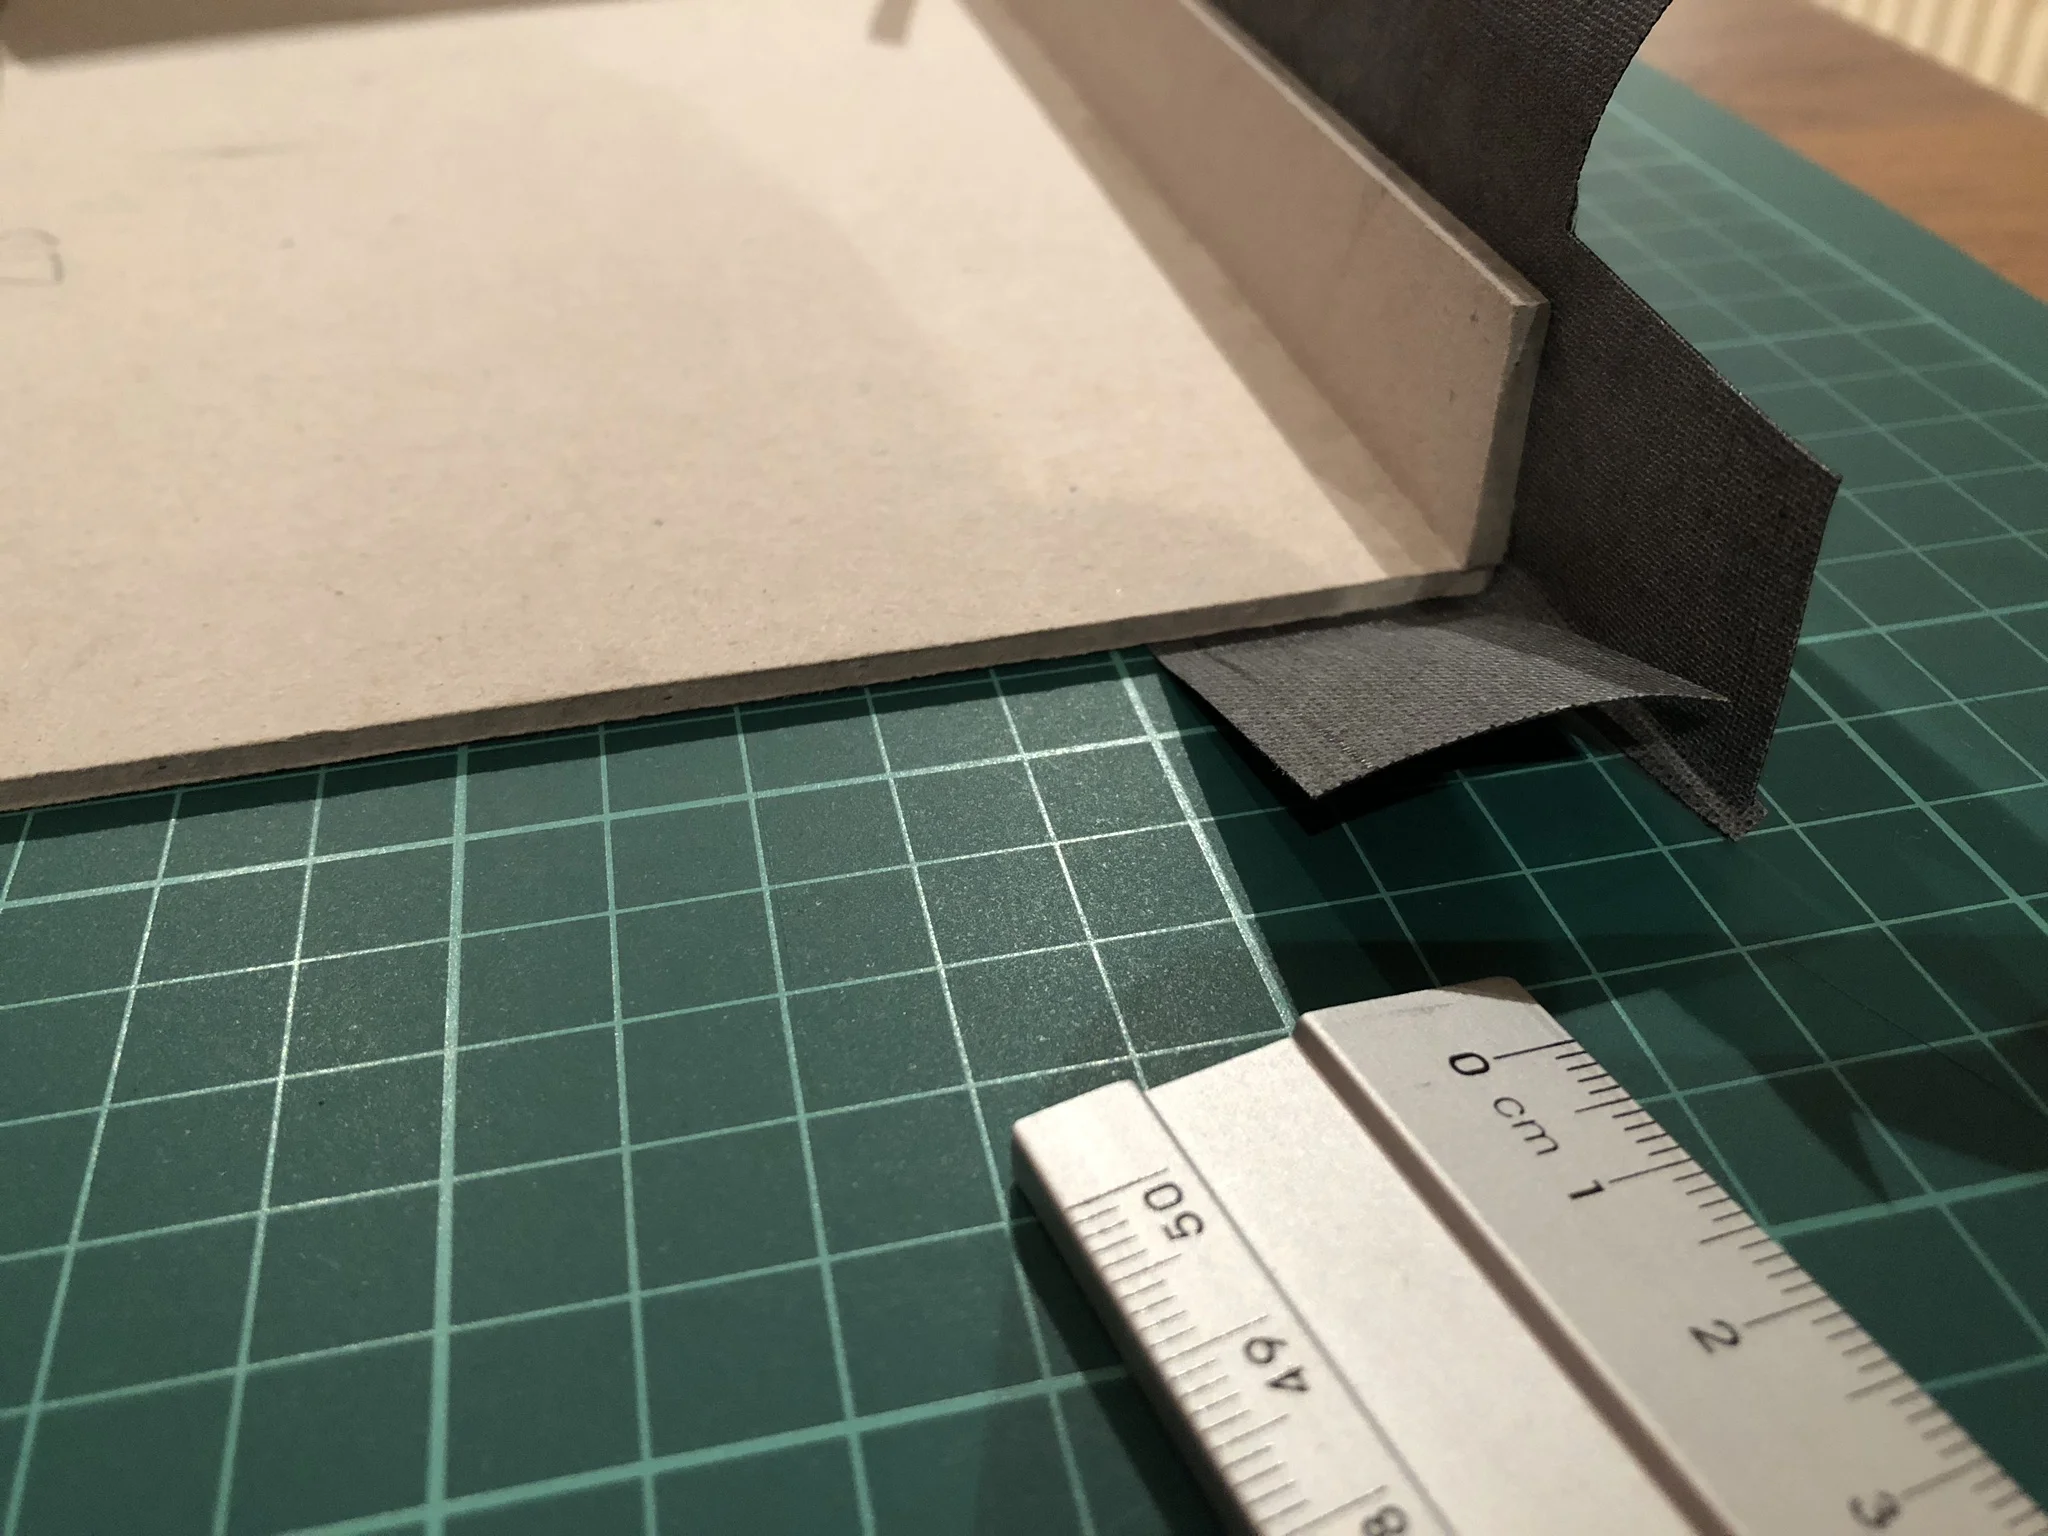
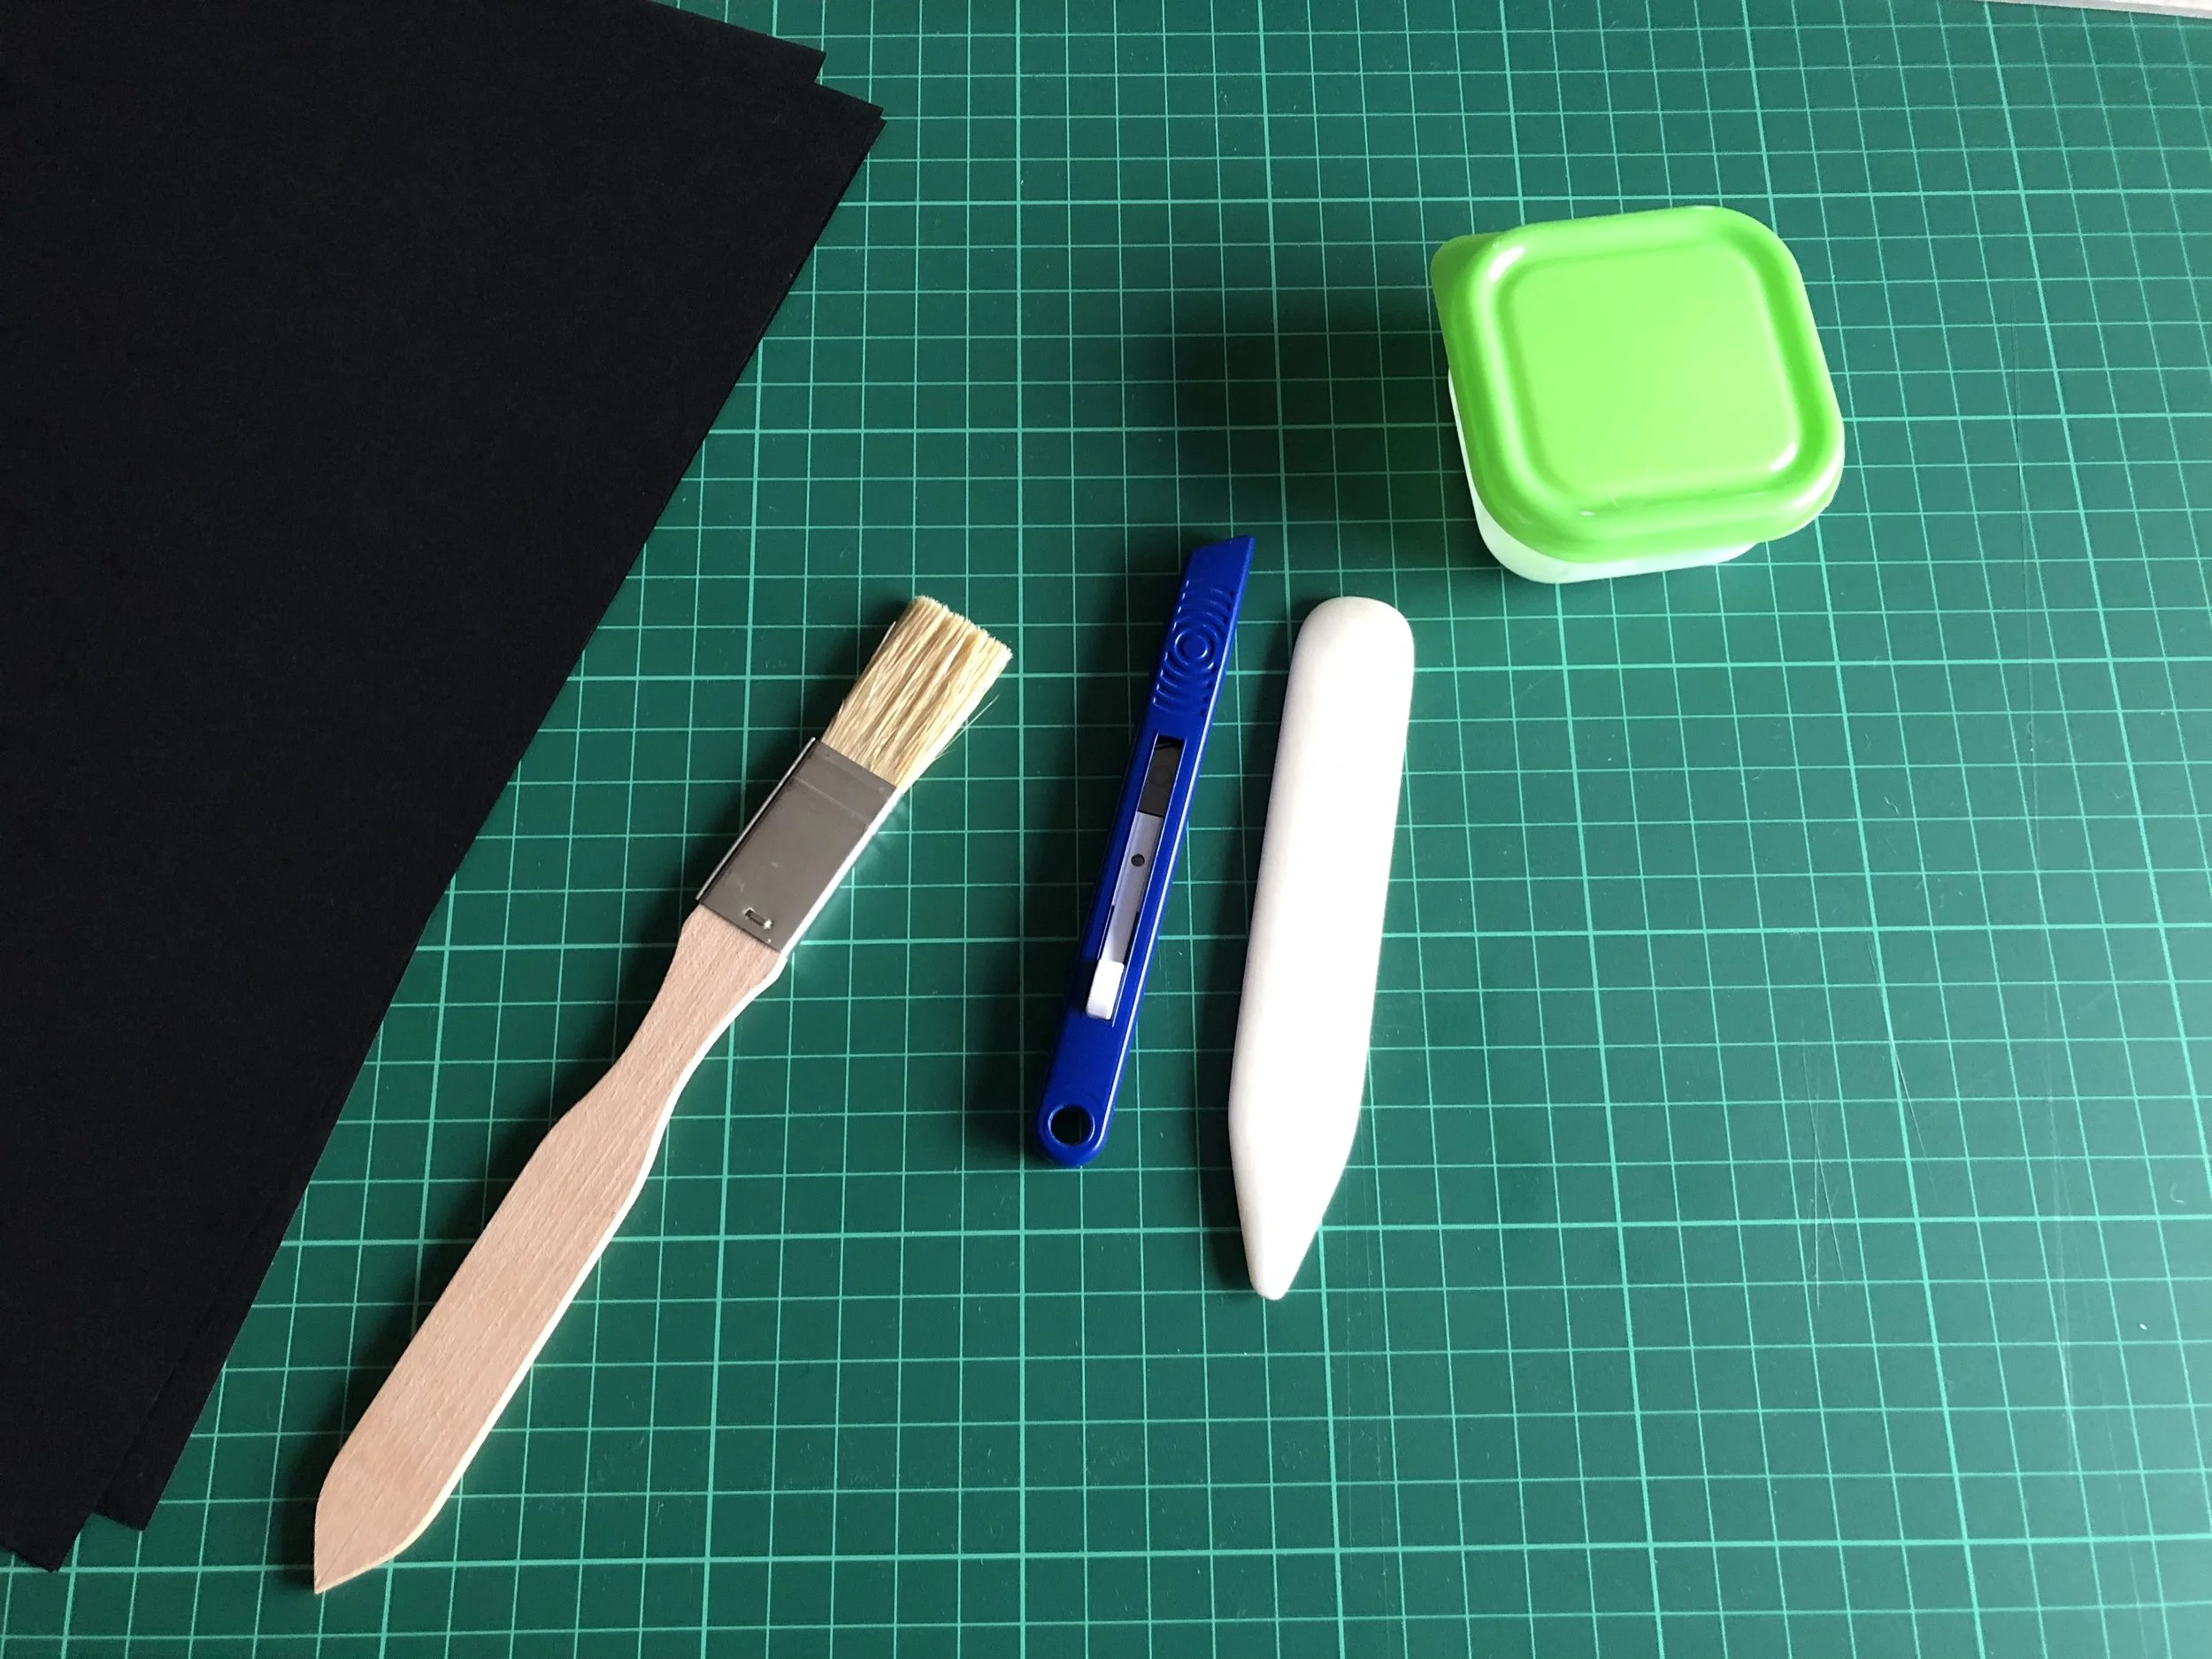
Night two and I found a piece of sandpaper (I need to buy a little denser) which I used to smooth the edges down. For the next stage I had to cut the cloth for strips to line the sides of the lid and base. This process took much longer than it probably should have as I checked, rechecked and rechecked over and over again to make sure I was cutting enough cloth. I glued up the board and after a final check I was gluing it the right way I managed to get the base and lid lined and the cloth folded. For a first solo attempt, I was pleased with the result.
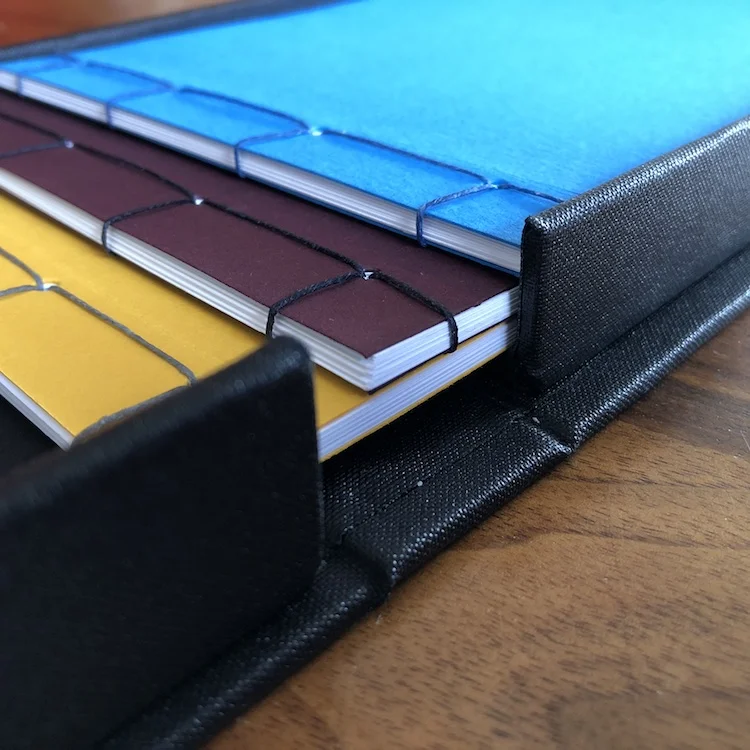
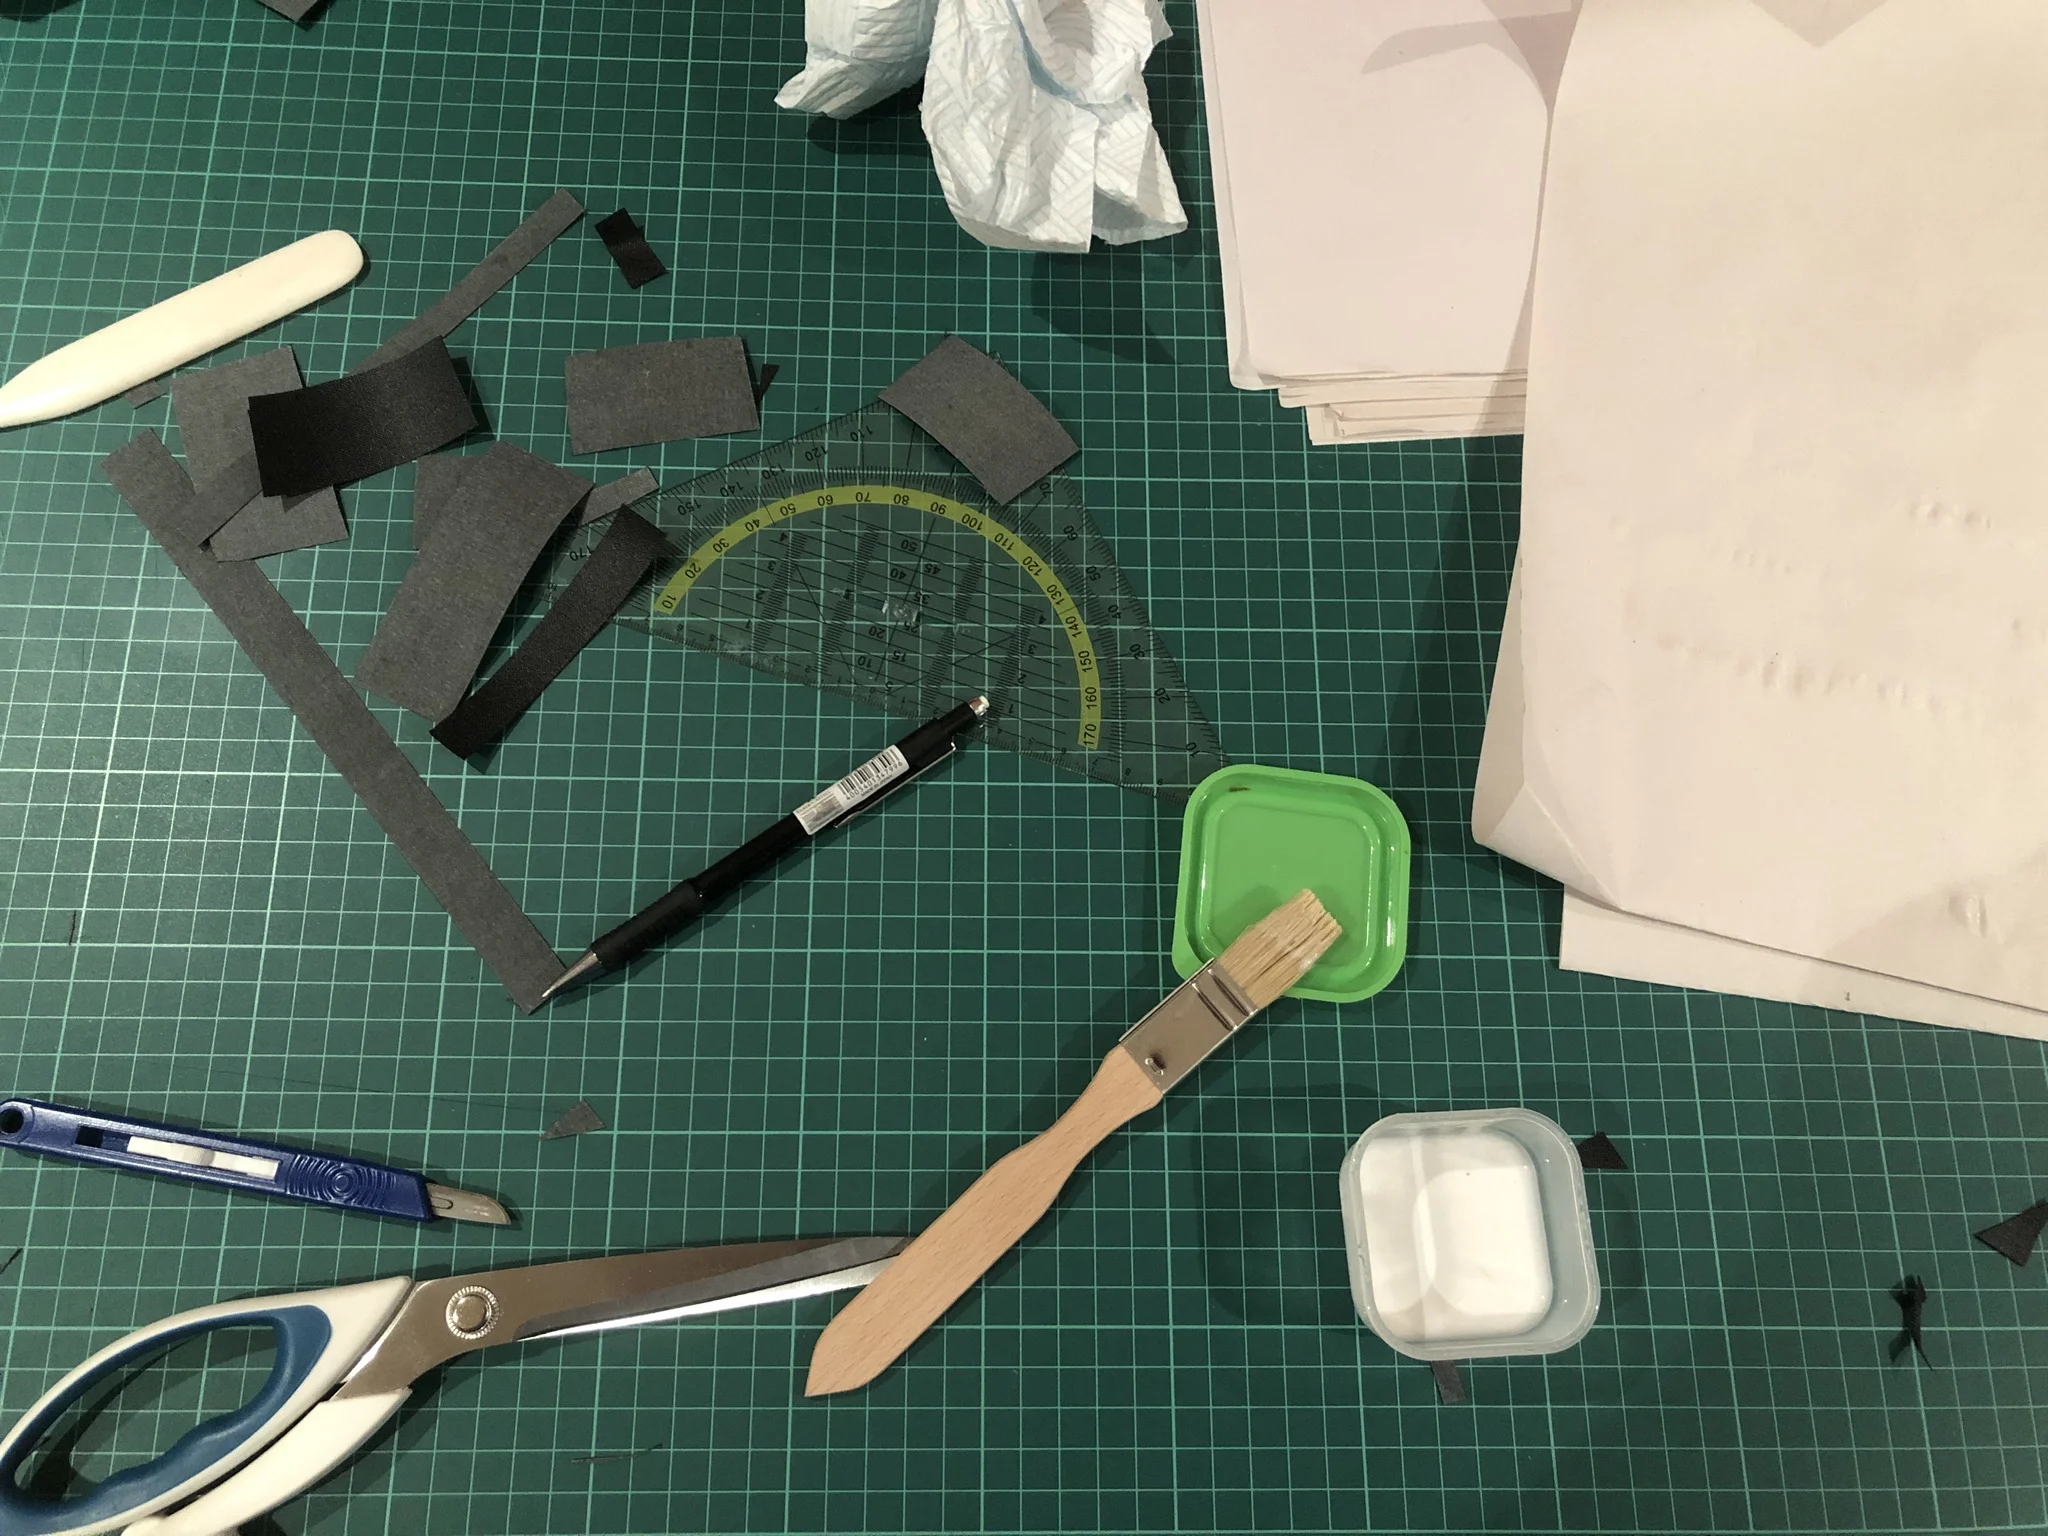
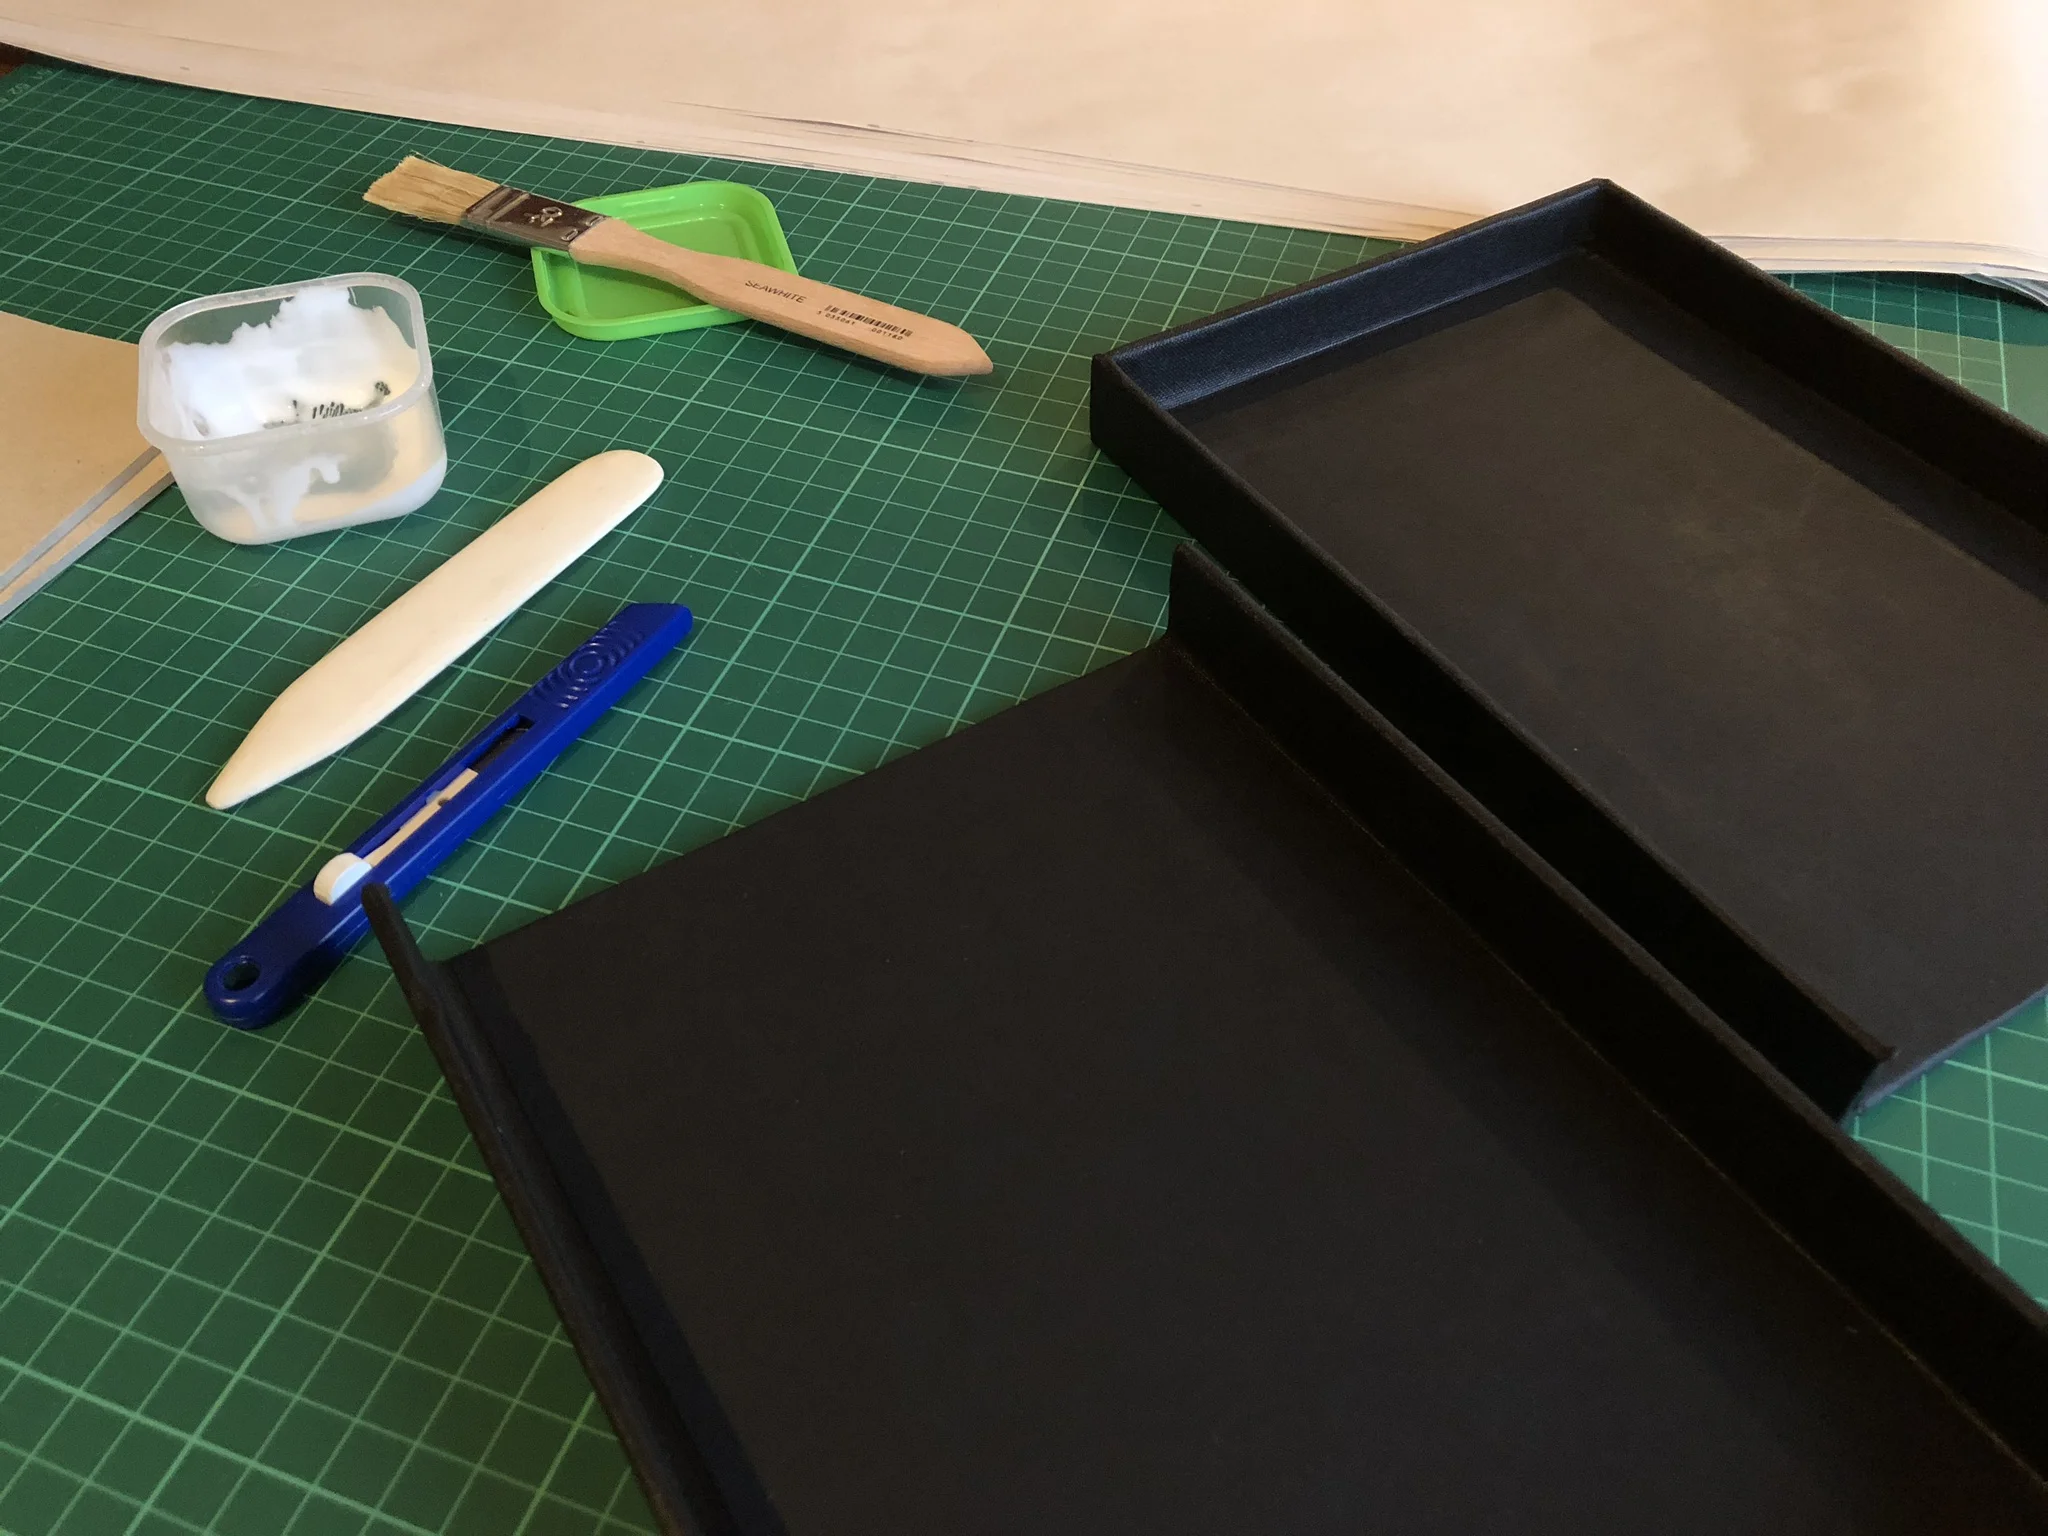
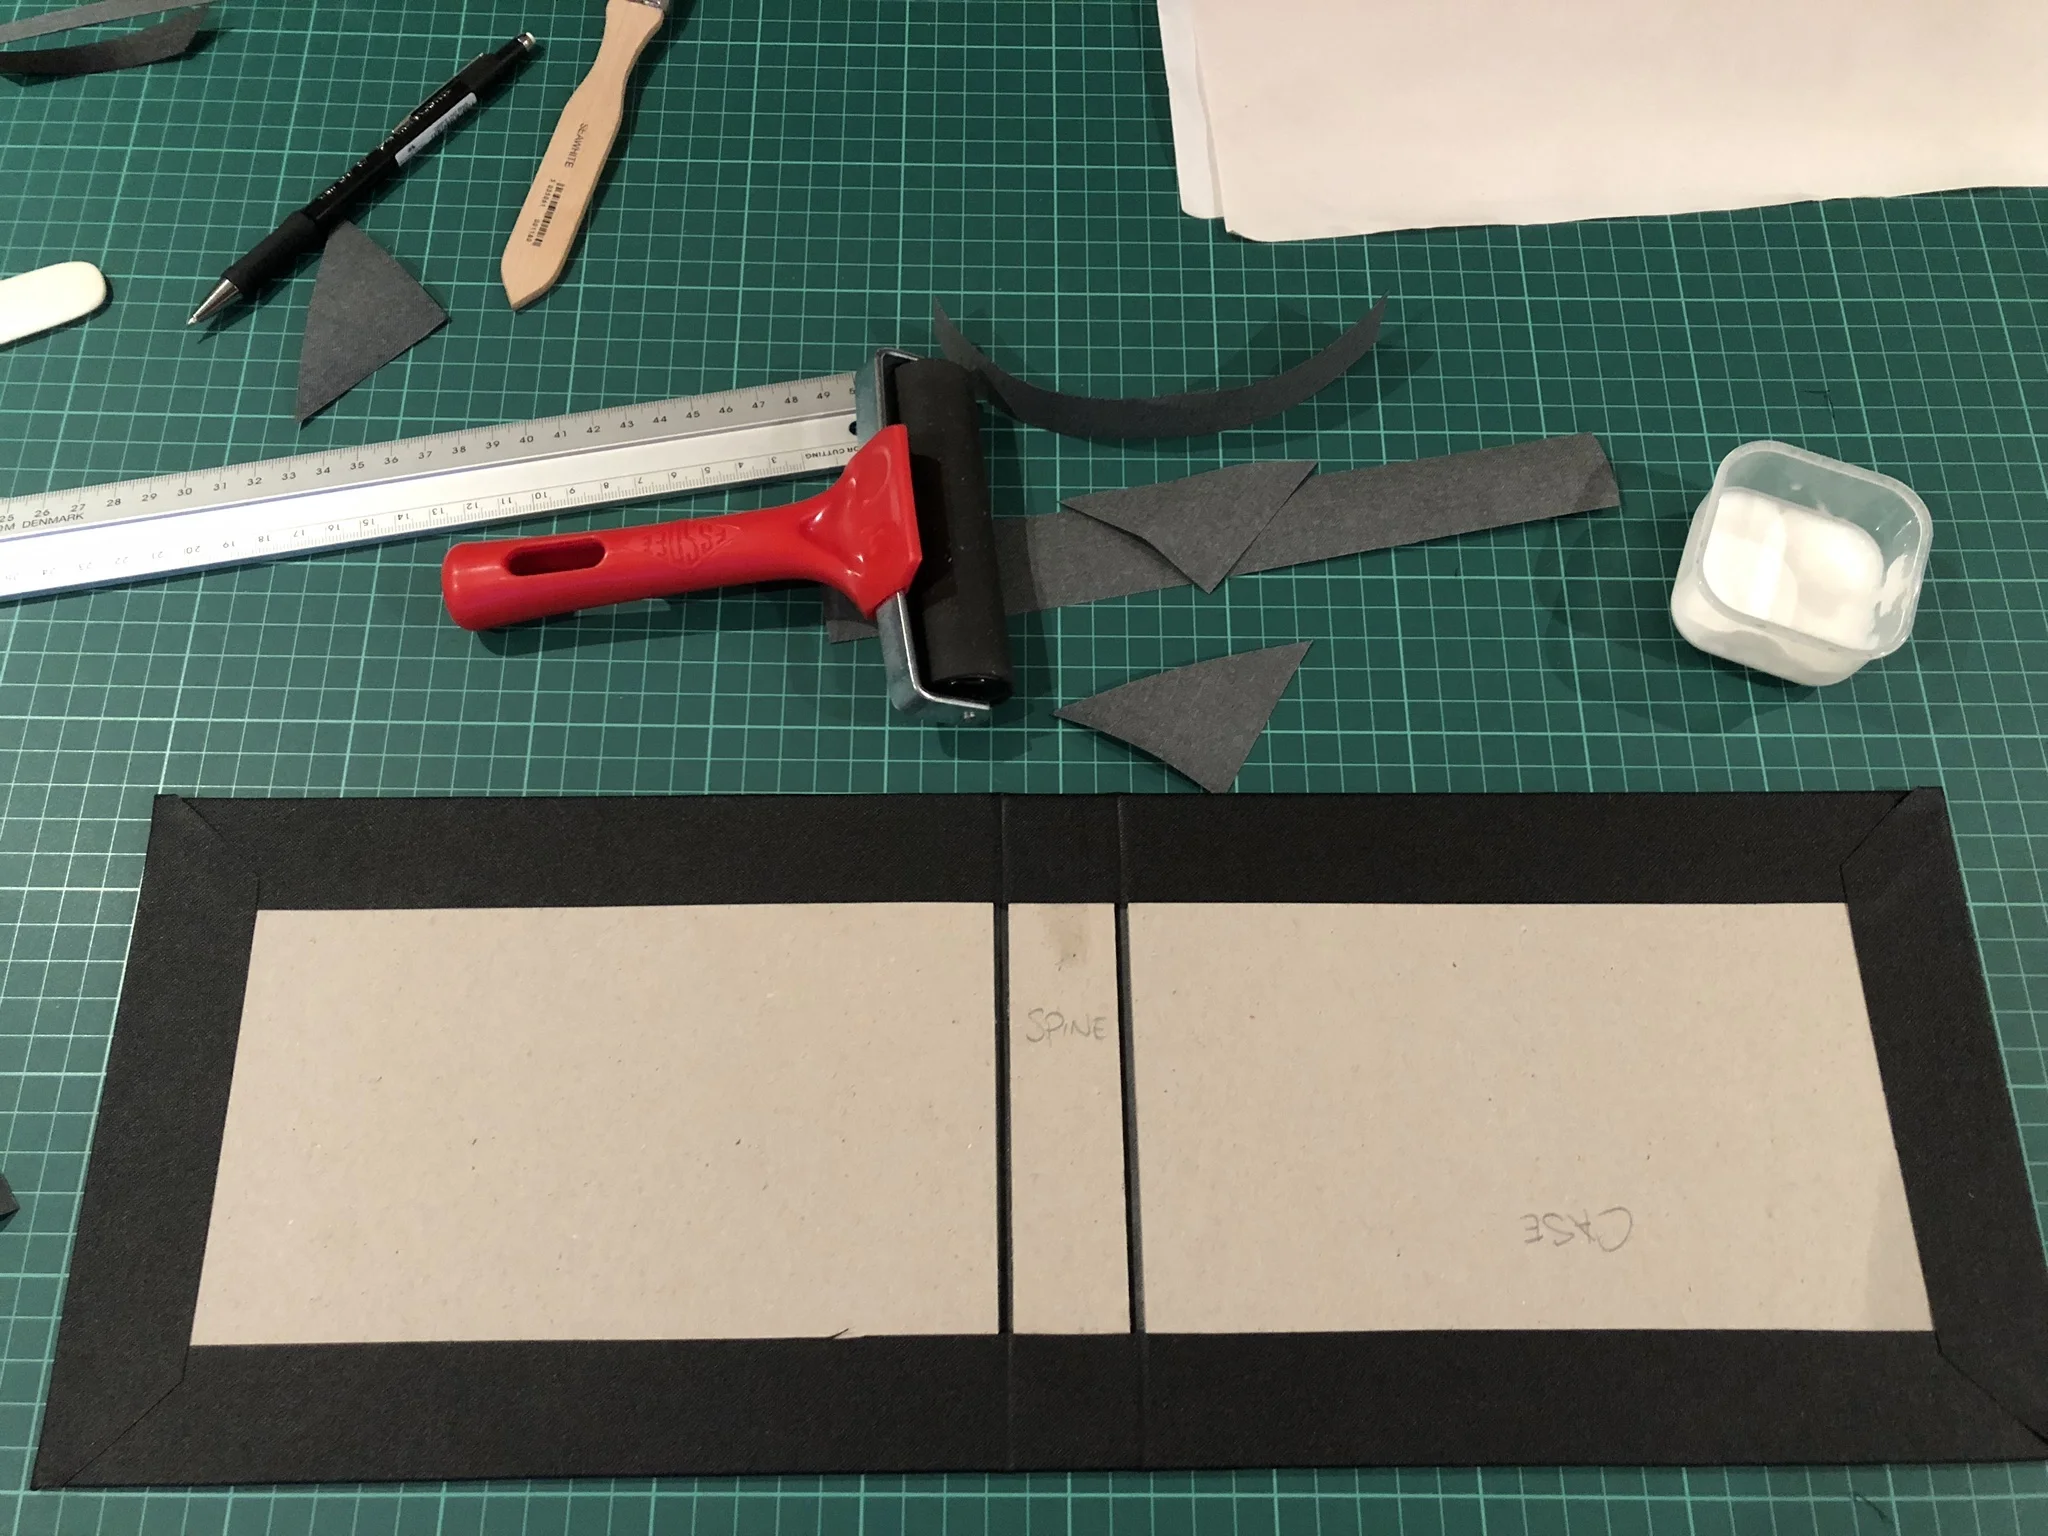
The final night of the process and I started lining the inside with black paper before moving on to clothing the case. Again, with scissors involved I spent time ensuring I was cutting the correct amount of cloth. I managed to get the case lined successfully, again a great first effort, and once I had placed the spine lining I could check that the case would fold together.
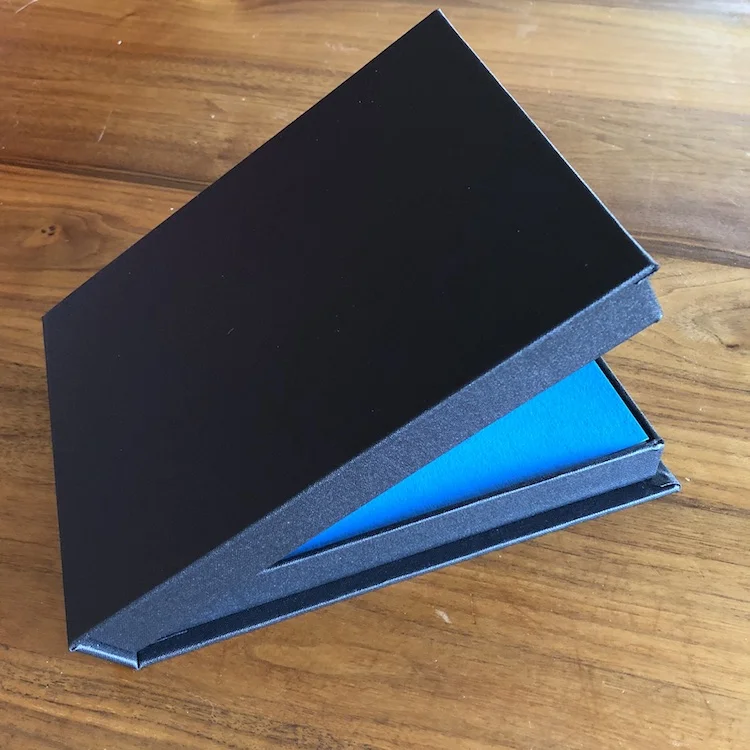
All that was left now was to stick the lid and the base to the outer case and then cross my fingers and hope that it closes, that it will open and more importantly the books still fit!
I’m pleased to say that it all fitted together and I applied some weights overnight to ensure that the lid and base were securely stuck to the case.
Whilst there are some minor details that could be a little tidier and some things I would change in the future, for a first solo attempt I’m delighted with the result. It has also given my confidence a boost when using glue, scissors, board and cloth knowing that if I take things slowly step by step and double check what I am doing, I can produce something to be happy with and proud of.
It has also given me motivation to buy more materials and look to develop and made some hardback books along with an appropriate presentation box/slipcase.
Resources
Thread - Bound by Hand
Paper - Matt Duo by Fotospeed (covers are Canford card)
Box Making Workshop - DAD Bookbinders (they also provided me with the materials I needed)